After years of juggling multiple apps to control my growing collection of smart devices, I decided to centralize everything through a Raspberry Pi running a dedicated home automation platform. I found Home Assistant to be the best choice for my needs. Here’s a detailed guide to turn your Raspberry Pi into a home automation dashboard.
Why I Selected Home Assistant as My Home Automation Dashboard
Home Assistant isn’t the only home automation dashboard that you can install on your Raspberry Pi to conveniently control and monitor smart devices from a central place. The other major options are Domoticz and openHAB, and I tested all three of them before I made my choice.
Here is a breakdown of their features:
Feature | Home Assistant | Domoticz | openHAB |
|---|---|---|---|
| Ease of Use | High | Moderate | Moderate |
| Device Support | Extensive, Auto-discovery | Good but limited | Extensive |
| User Interface | Modern, customizable (Lovelace) | Basic, limited flexibility | Multiple UIs, customizable |
| Automation Flexibility | Very High | Medium | High |
| Community & Resources | Largest & most active | Smaller, but experienced | Large, but less active than HA |
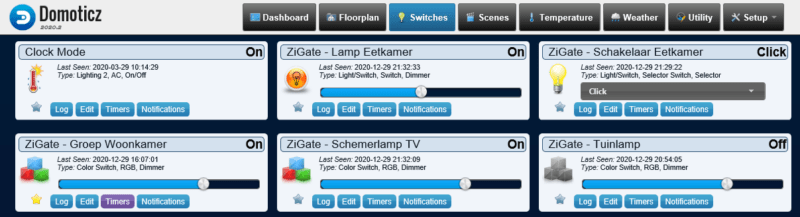
Domoticz was my first dive into home automation. It installed quickly using their one-line installation script and barely made my Raspberry Pi break a sweat. I could literally feel the difference in system temperature – my Pi ran much cooler than with the other options. However, I quickly hit a wall when trying to integrate my Zigbee devices. While the documentation existed, I spent an entire weekend troubleshooting connectivity issues before moving on to the next platform.
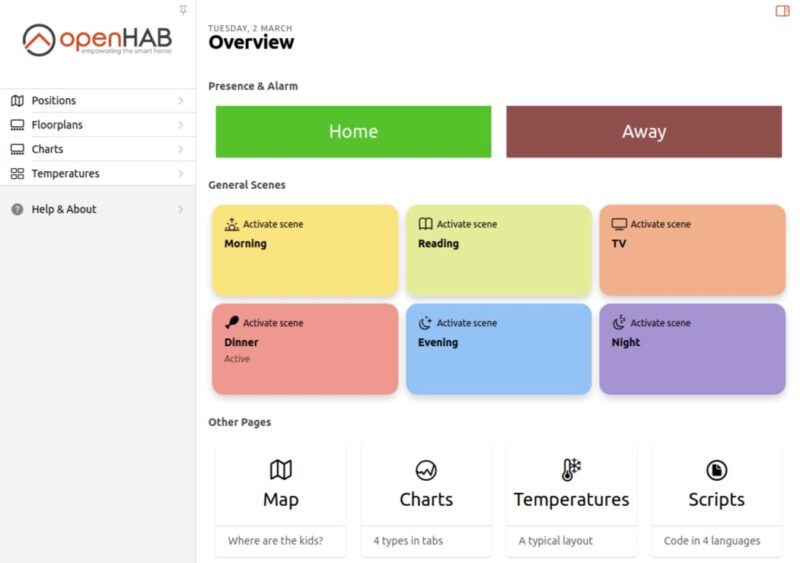
I had high hopes for openHAB given its reputation in enterprise settings, and I immediately appreciated how it separated physical devices (“things”) from their functions (“items”), which made managing my smart home feel more structured. However, I found myself constantly jumping between different interfaces to accomplish basic tasks. The most hair-pulling moment came when I spent hours setting up my weather integration, only to discover I couldn’t easily display it on my dashboard without switching to an entirely different UI.
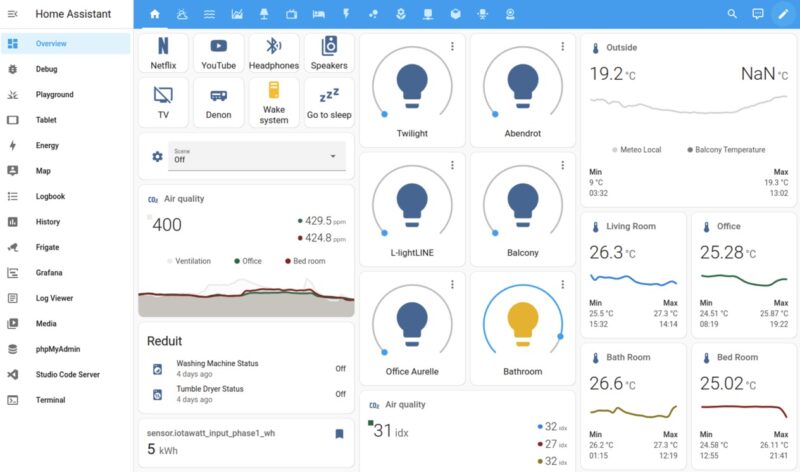
Ultimately, my choice – and the one I recommend – is Home Assistant. It strikes the right balance, being user-friendly, powerful enough for advanced automations, and offering an incredible amount of integrations straight out of the box. Home Assistant also excels with a visually appealing, easily customizable interface called Lovelace, making it simple even for non-tech-savvy family members to navigate.
While frequent updates to Home Assistant can sometimes be annoying if they disrupt existing setups, its immense community support, and ongoing improvements have kept me committed. For beginners especially, the platform’s auto-discovery feature effortlessly integrates devices, so it’s possible to get your smart home dashboard up and running in no time, and that’s exactly what I’ll show you how to do in the next section.
Setting Up Home Assistant: What You’ll Need and How to Do It
Note: I’ll be using the latest Raspberry Pi 5, but the process is almost identical for earlier versions as well.
First, make sure you have everything ready. You’ll need:
- A Raspberry Pi 5 or 4 with a compatible power supply.
- A good quality microSD card (I recommend a card labeled A2 with at least 32 GB for the best performance and reliability).
- An Ethernet cable for reliable and easy-to-configure internet connection.
- An SD card reader, most laptops have one built-in, but USB adapters work just fine if yours doesn’t.
- A computer to set everything up.
The easiest way to install Home Assistant is by using the official Raspberry Pi Imager tool.
First, download the Raspberry Pi Imager from the official website and install it on your computer. The tool is available for Windows, macOS, and Linux, making it accessible regardless of your system.
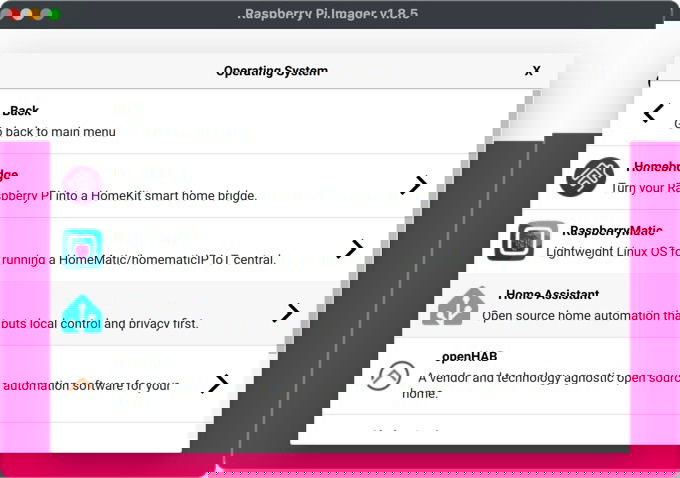
After launching the imager, select your Raspberry Pi model, then navigate through the operating system options. Instead of choosing Raspberry Pi OS, go to Other specific-purpose OS > Home assistants and home automation > Home Assistant and select the version matching your hardware.
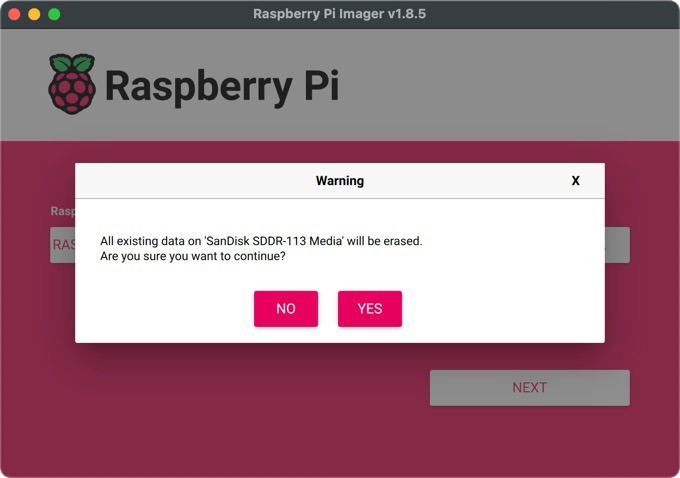
Insert your microSD card into your computer, select it under “Choose Storage,” and then hit Write. (Heads up: this will erase anything on the SD card!)
Once that’s done, insert the SD card into your Raspberry Pi and plug in the power and Ethernet. The first boot takes longer as Home Assistant configures itself, but subsequent boots are much faster.
After a few minutes, you should be able to open a web browser on your computer and visit homeassistant.local:8123. If that doesn’t load, try using your Pi’s IP address directly (http://X.X.X.X:8123).
Basic Onboarding and Adding Your First Device in Home Assistant
With your Home Assistant now running smoothly on your Raspberry Pi, let’s go through the basic onboarding steps and get your first smart home device added.
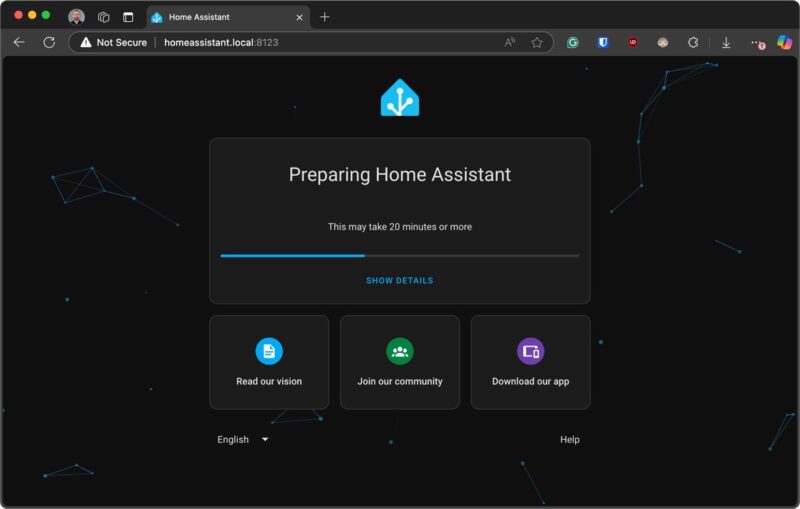
When you first access Home Assistant, you’ll see a preparation screen while the system downloads and configures the latest version. On my Pi 5, this took about 2-3 minutes, but it might take longer on older hardware.
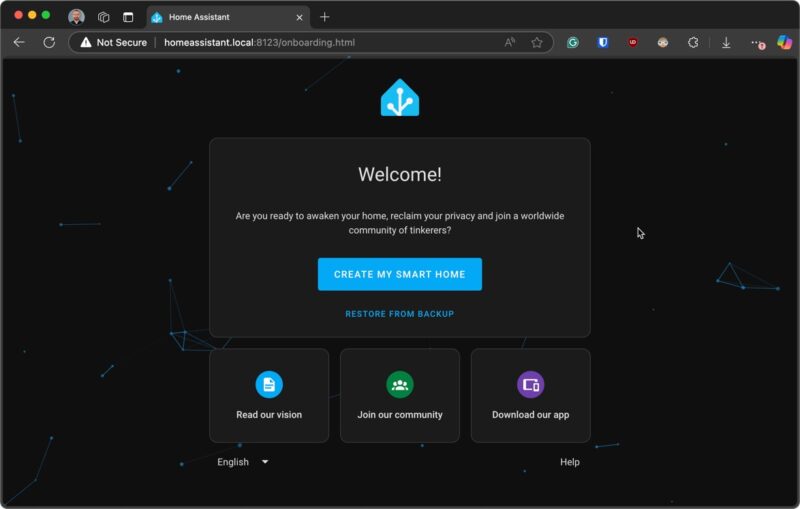
After the preparation is completed, you’ll be presented with the welcome screen. Select Create my smart home to set up a new installation (alternatively, you could restore from a backup if you’re migrating from another system).
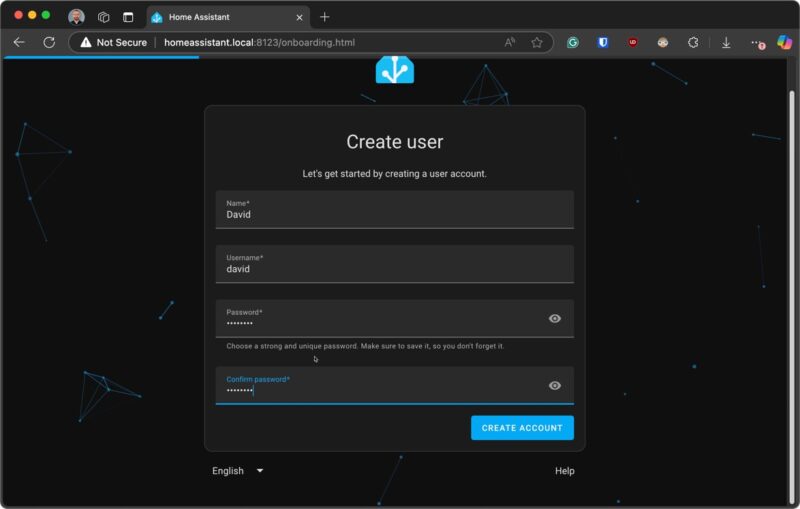
Next, you’ll need to create your administrator account. This is extremely important – I recommend using a strong, unique password that you haven’t used elsewhere. Make sure to securely store these credentials, as there’s no password recovery option if you forget!
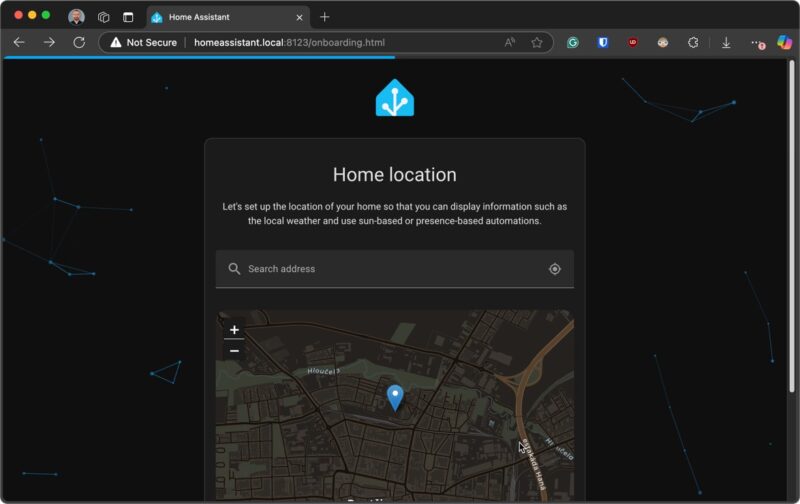
The next screen will ask for your home location. Be as precise as you can here – this information is used to configure your time zone, create a home zone for presence detection, and set up location-based automations like controlling lights based on sunrise and sunset. You can always adjust this later in the settings.
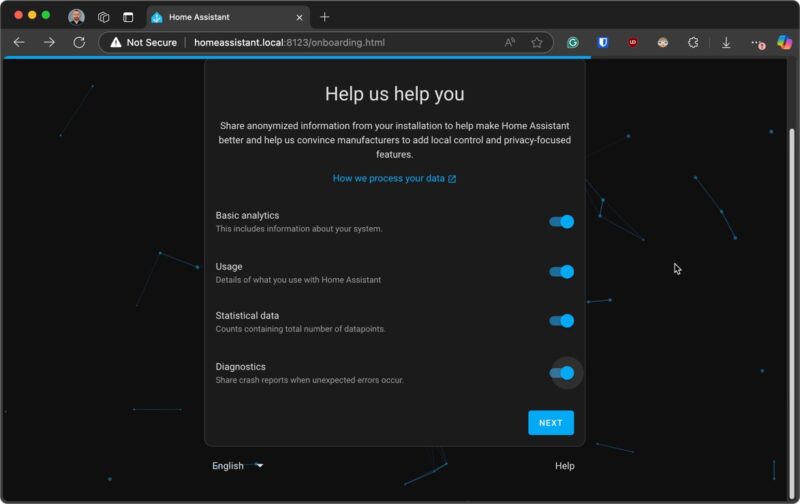
You’ll then be asked about sharing anonymous usage data. While this is entirely optional, I personally chose to enable it because the data helps the developers focus on the most-used features and improve compatibility with popular devices.
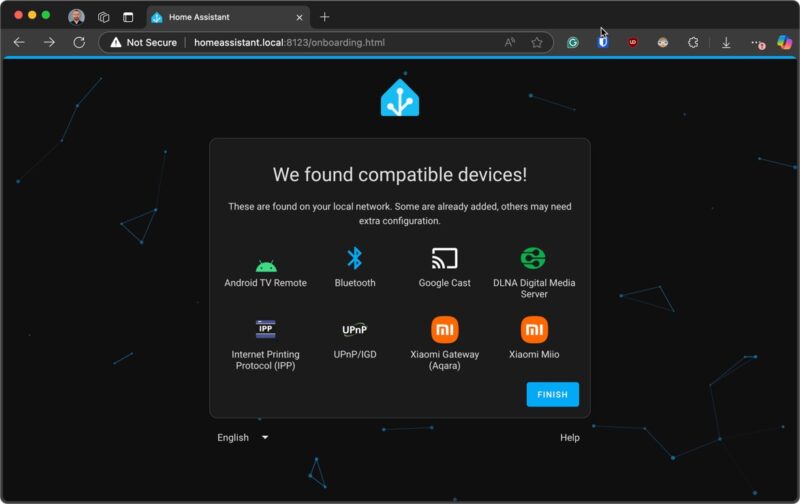
Finally, Home Assistant will show you any devices it discovered on your network. Don’t worry if it doesn’t find much yet, we’re about to add devices manually. Click Finish to complete the onboarding process and reach the main dashboard.
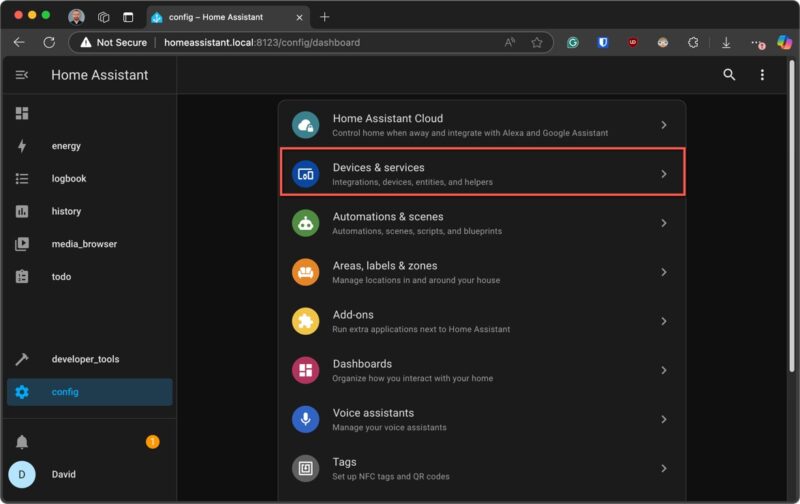
Now for the exciting part – adding your first smart device! From the main dashboard, click the config button (the gear icon) in the lower left corner. Then select Devices & Services from the menu. This is your central place for adding and managing all integrations.
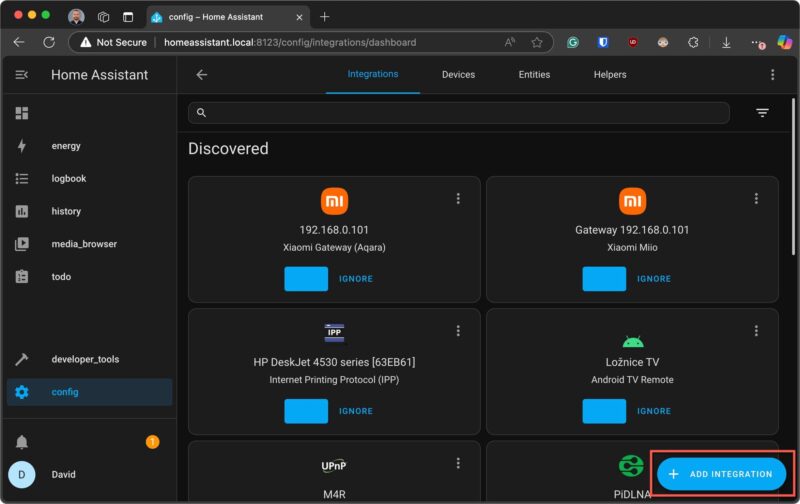
Click the Add Integration button in the bottom right corner. You’ll see a search box where you can type the name of your device’s brand or protocol. For example, if you have Philips Hue lights, type “Hue”; for a smart thermostat like Nest or Ecobee, type their respective names.
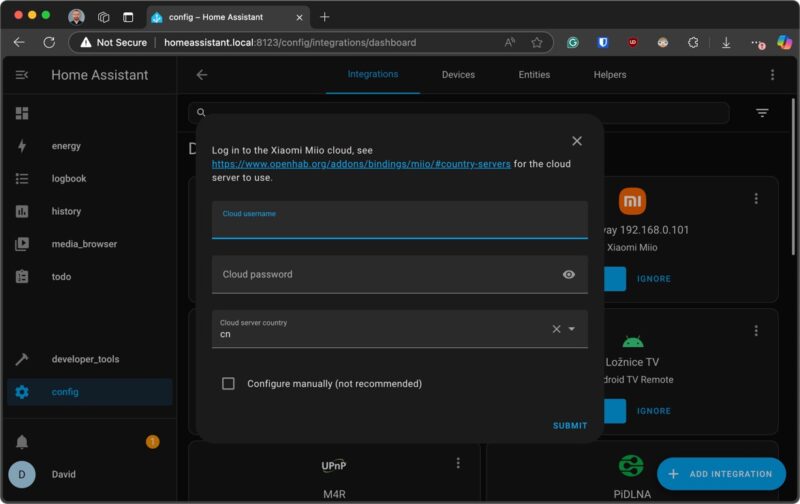
After selecting your integration, Home Assistant will guide you through the specific steps to connect that particular device or service. The process varies by integration, but typically involves:
- Finding the device on your network or entering connection details.
- Authenticating with the device or its cloud service.
- Selecting options specific to that integration.
- Naming and organizing the entities in your Home Assistant interface.
One of my favorite things about Home Assistant is how it usually provides helpful, integration-specific instructions during this setup process.
With the foundation now in place, you can continue to add devices, create automations, and customize your dashboard to fit your specific needs. For example, you can improve the security of your home by installing some indoor or outdoor security cameras.