Whenever you encounter a sign-up page or form, you are asked to add personal details like your name, address, email, phone number, etc. If you have to do it often, it can quickly get extremely tedious. With iOS’s AutoFill, you don’t have to waste your time typing the same info again and again – it does the work for you! Find out how you can enable and use AutoFill on your iPhone or iPad.
Good to know: here’s how you can give your iPhone app icons a makeover.
Enable Autofill on iPhone
To get started, you need to first enable AutoFill in your iOS settings. For this tutorial, I’m using an iPhone that is running iOS 18.4.
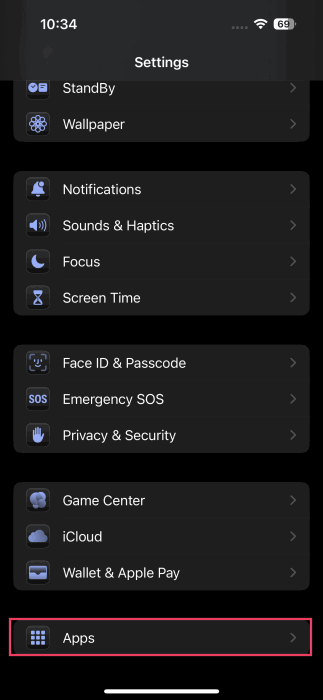
Open the Settings app on your device and go to Apps.
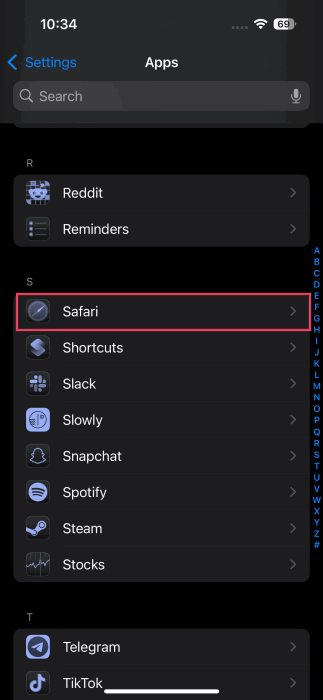
Select Safari from there. On older iOS versions, you can go directly to Safari at the bottom.
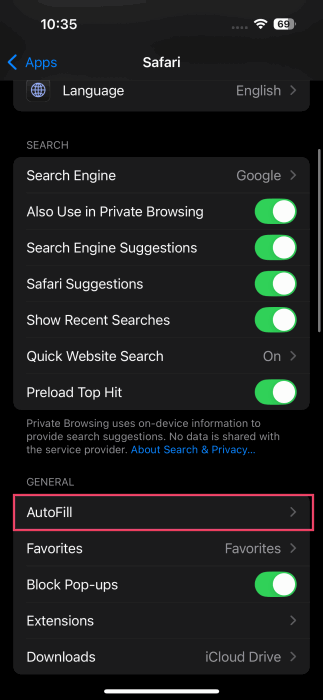
Click on AutoFill in the General section.
Make sure the Use Contact Info toggle is active.
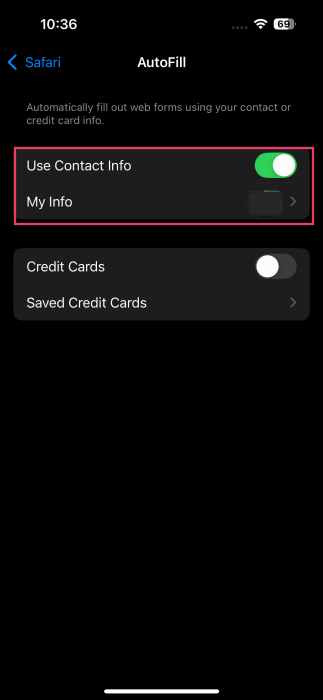
To make sure the AutoFill information is accurate, tap on My Info below and select your contact name from the list, it’s the one with the (me) attached. Note that it is important that your contact info should contain everything you need for AutoFill.
Add or Update Your Personal Info
If your contact only contains your name and phone number, you might need to add additional info.
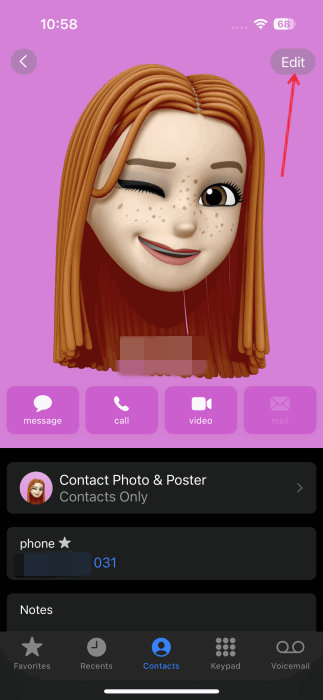
To do so, open the Contacts app on your phone. Find your contact name, open it, and then tap on Edit.
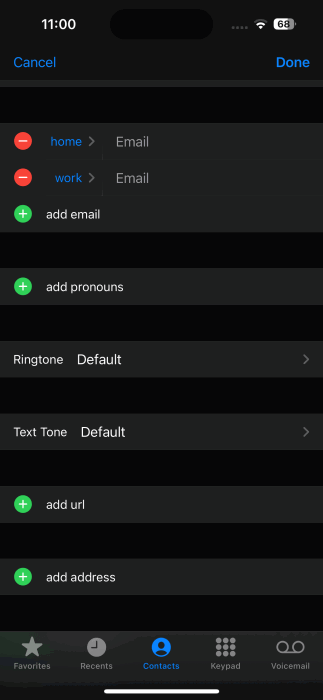
Go through all the available options and ensure everything you want it to autofill is properly listed. This will include email, phone number, full name, address, birthday, the company you work for, and more. Of course, you can add multiple addresses and phone numbers.
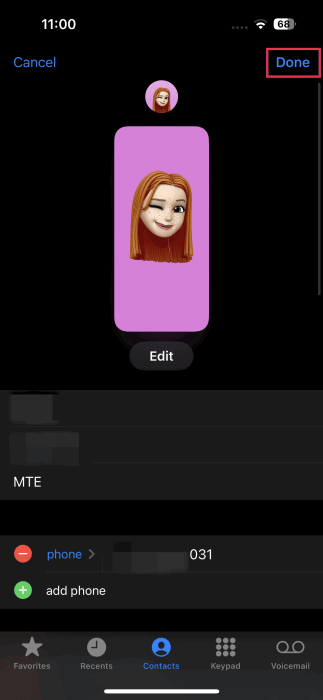
As soon as you have included everything you may want for AutoFill, tap on Done and exit out of your contacts.
Add Credit Card Info
While you might think that AutoFill is mostly about names and home addresses, you can also add credit card info.
In the Settings app on your iPhone, go to Safari -> AutoFill and toggle on the option for Credit Cards.
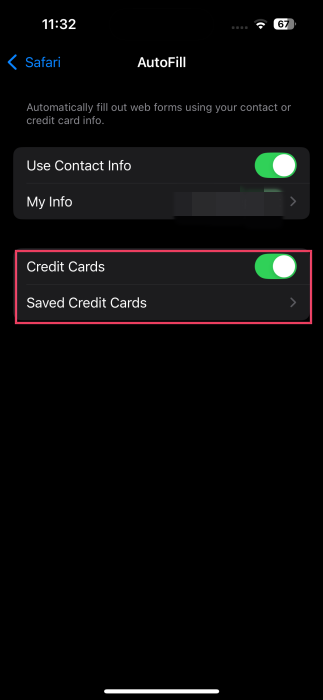
If you want to add a card for the first time or edit existing cards, select Saved Credit Cards and access this menu by either entering your device passcode or allowing Face ID.
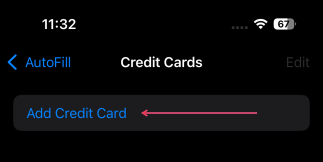
Once you are in the saved menu, go ahead and make any changes, including updated card numbers, expiration date, security code, etc. You can also add a description in the event you have multiple cards for different shopping needs.

Activate AutoFill for Passwords
In the same way you can autofill your name, address and credit cards, you can do the same with passwords. Whether you use iCloud Keychain or third-party password managers like 1Password or LastPass, AutoFill can work for you.
If you use iCloud Keychain, make sure it is activated before proceeding any further.
Open the Settings app and tap on your Apple Account at the top.
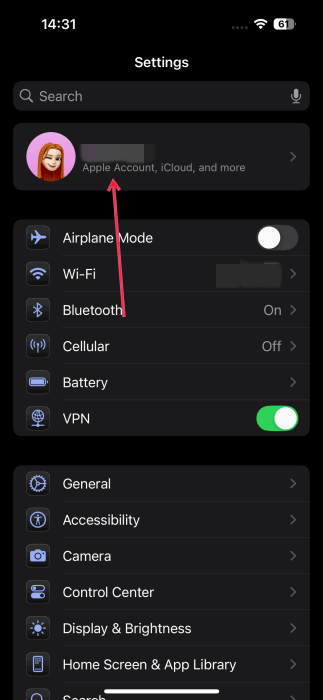
Select iCloud.
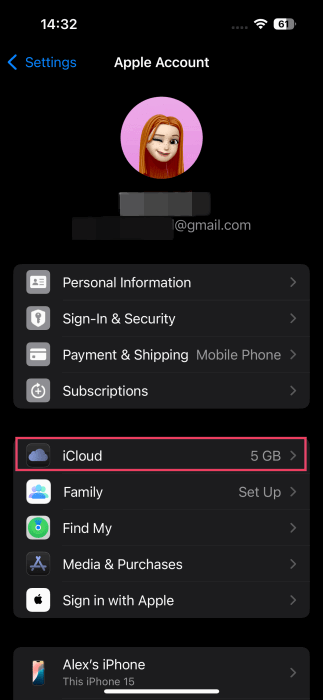
On the next screen, tap Passwords.
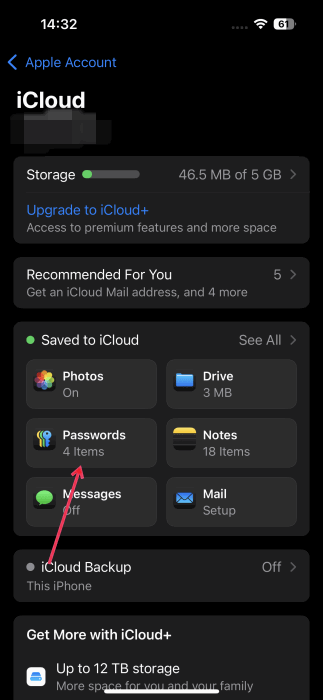
Make sure the Sync this iPhone toggle is enabled.

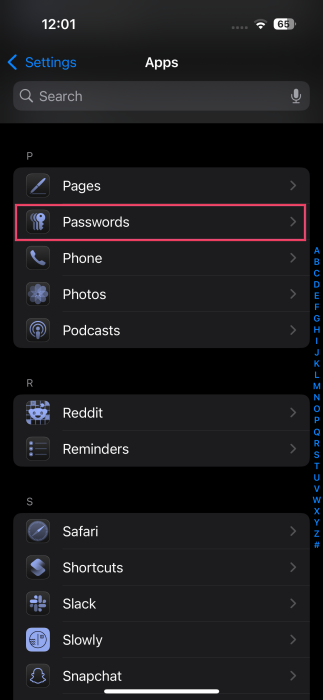
Up next, return to the Settings screen, and navigate to Apps -> Passwords.
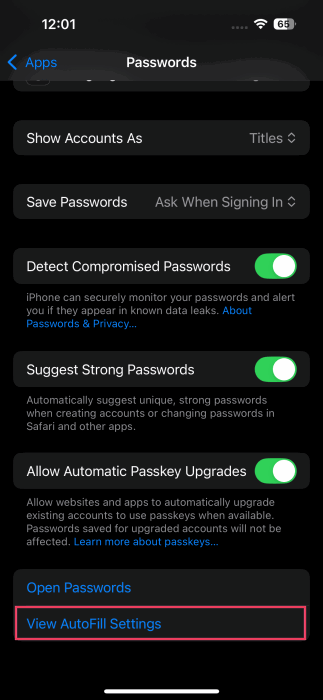
Tap on View AutoFill Settings at the bottom.
Make sure that the AutoFill Passwords and Passkeys toggle is enabled at the top.
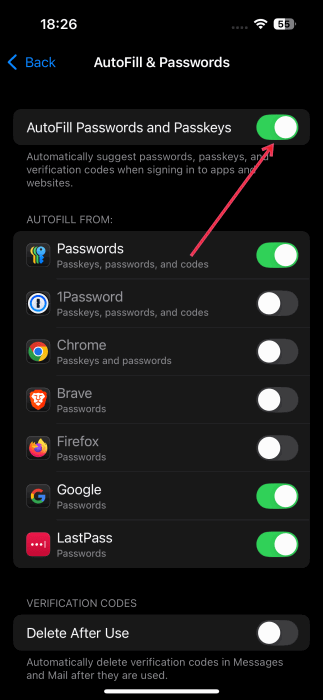
In the AutoFill From section, Passwords should be on. If you’re using a third-party app to manage your passwords, now it’s the time to enable the toggle specific to the app from the section below, as well. AutoFill can also use the information stored in your browser.
Note: in older iOS version, you can also go to Settings -> Safari -> Passwords & Autofill and turn on the Always Allow feature. This allows iOS to remember passwords even when website request that it doesn’t do so.
Edit Saved Autofilled Passwords
If you ever need to edit your passwords on iPhone, do the following.
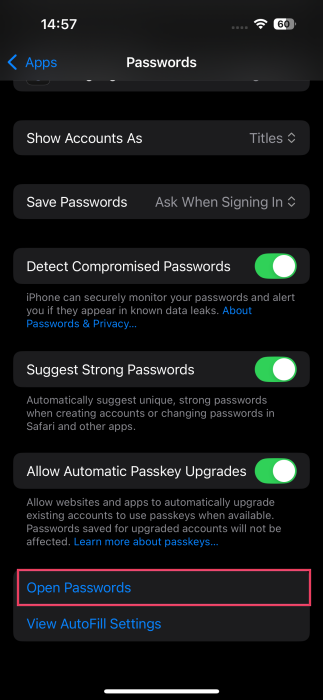
Go to Settings -> Apps -> Passwords, as demonstrated above. At the very bottom tap on Open Passwords.
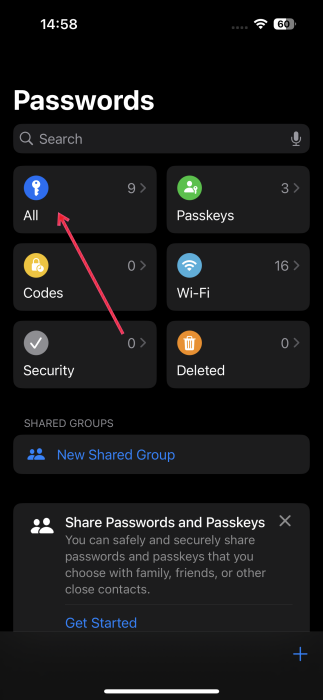
This will open the Passwords app. Here, select the All option to view your passwords.
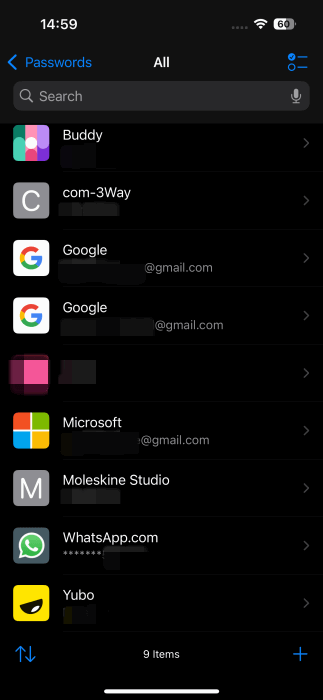
Select one of your accounts.
Tap Edit in the upper right corner.
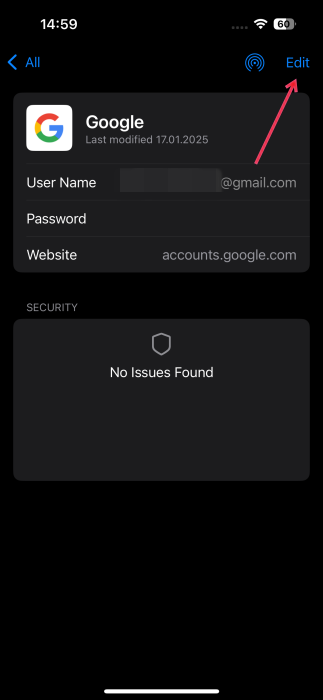
Select Change Password. Follow the instructions from there to change your password.
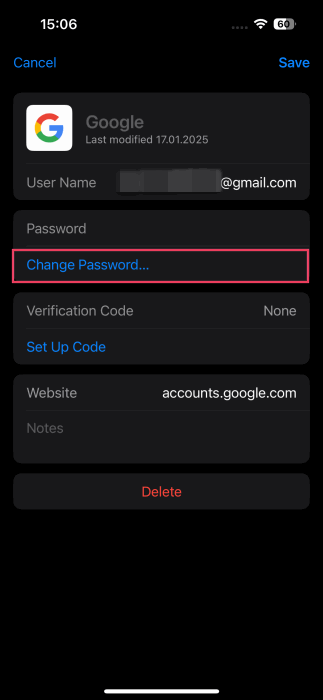
Finally press Save.
Use AutoFill in Safari and Other Apps
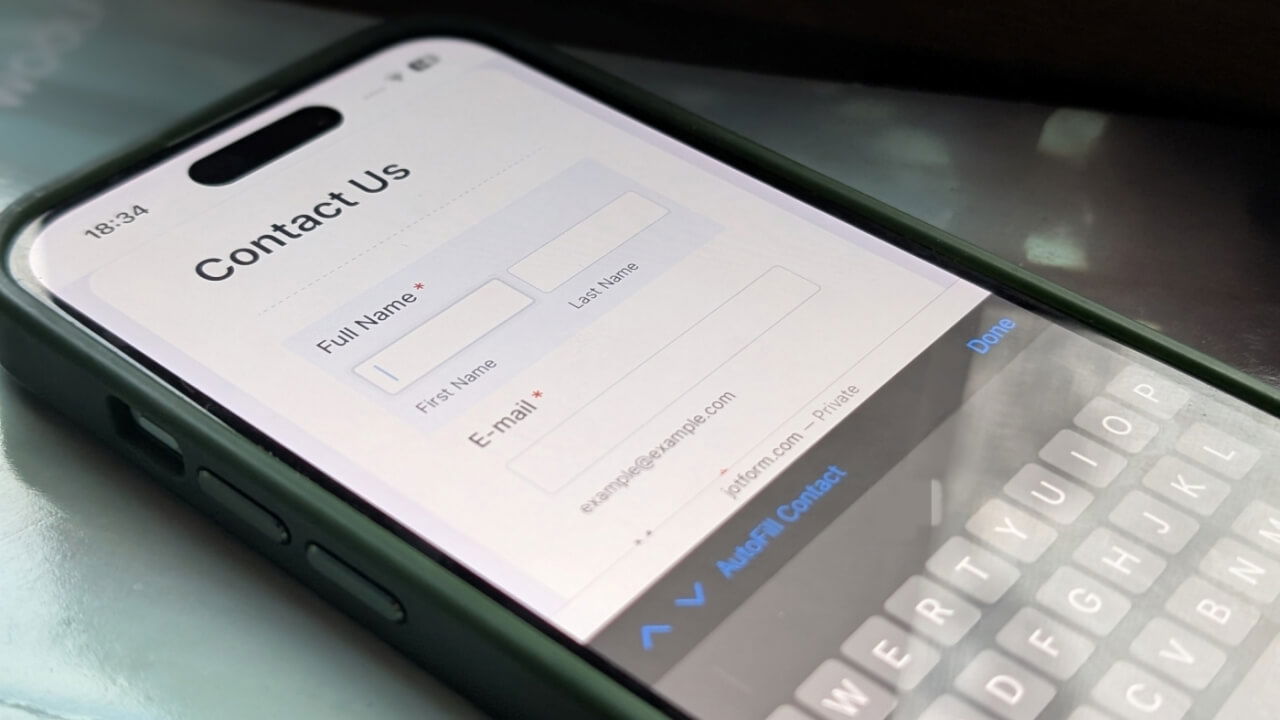
Once AutoFill is set up on your iPhone (or iPad) filling out sign up forms will become a real breeze.
When on a page that requires your details, tap on a field and press the AutoFill Contact button that appears at the bottom.
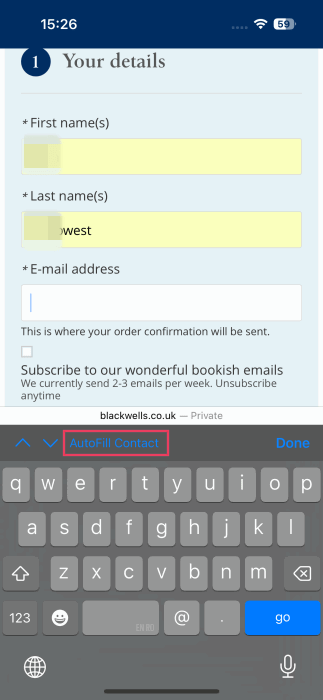
Select the first option that appears in the pop-up. Then tap the downward arrow to move to the next field and press AutoFill again.

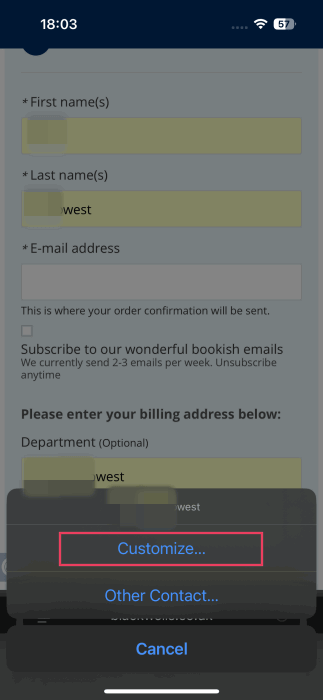
If you have multiple addresses saved up for instance, press AutoFill and then Customize at the bottom to select the correct address.
If you’re more of a Chrome fan, check our guide on how to use the Google Password Manager in Chrome. On the other hand, remember to always set strong passwords to safeguard any potential attacks on your accounts. Knowing the methods hackers use to crack passwords can empower you to strengthen your defenses against cyber threats.