From tracking a project’s history to consolidating code, Git has become a cornerstone of modern software development. As such, learning how to use Git properly is important for any developer looking to collaborate with others. In this article, I will go through some Git beginner’s tips to help you to build a good Git habit today.
1. Set the Username and User Email
One of the first things that you should do in Git is set your default username and email. This allows you to properly tag your commits, making it easier for others to refer to your code and contact you in the future.
To set your username and email, run the following commands on a new terminal session:
git config --global user.name "YOUR NAME"
git config --global user.email "YOUR EMAIL ADDRESS"
You can also set these variables through your personal Git config file. For that, use your favorite text editor to either open or create a .gitconfig file on your home directory:
nano ~/.gitconfigPaste the following lines of code inside your config file:
[user]
name = YOUR-NAME-HERE
email = YOUR-EMAIL-HERE
Save your config file, then confirm that Git reads it properly by running the following command:
git config --list
2. Create Aliases for Common Functions
It’s no secret that Git is a complex program. With its multitude of subcommands and options, Git can sometimes be overwhelming to new developers. One trick you can use is to make aliases for these commands so they are easier to remember.
To create a new alias, paste the following command on a new terminal session:
git config --global alias."KEY" "SUBCOMMAND"Replace the KEY placeholder with the alias that you want for your subcommand. In my case, I will set the “status” subcommand to the key “sta.”

Similar to setting the Git user name and email, you can also use the .gitconfig file in your home directory to set new aliases. For that, paste the following block of code inside your .gitconfig file:
[alias]
    sta = status
    fet = fetch
Save your .gitconfig file, then confirm that it’s working properly by using your new alias.

3. Take Advantage of .gitignore
Active codebases often come with files that you might not want to track in version control. These could be leftover object files or even temporary notes in the repo’s root directory. Over time, these unnecessary files can add up, taking space on your PC’s disk.
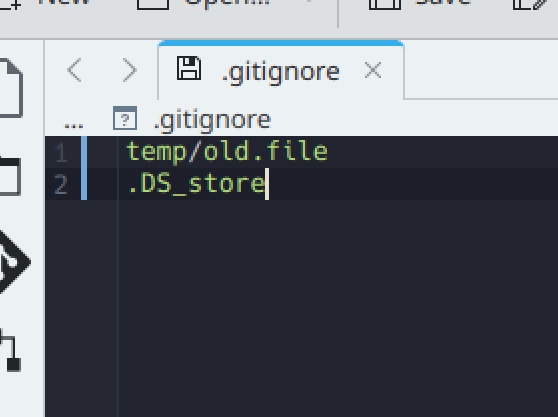
One way to fix this is by creating a .gitignore file inside your Git repository. This is a file that tells Git which files to ignore when creating commits. To create a .gitignore file, run the following inside your repo:
nano ~/YOUR-GIT-REPO/.gitignoreProvide the path of the files that you want to exclude inside the .gitignore file. In my case, I don’t want to include a note file inside my repo’s “temp” directory.
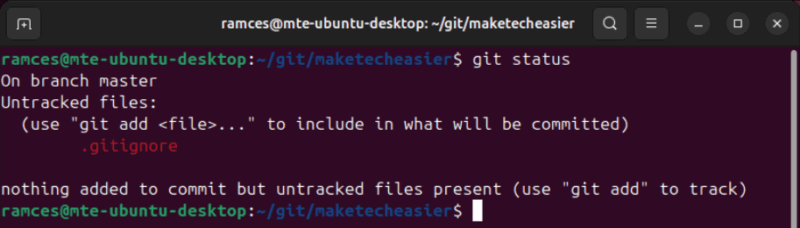
Confirm that your file is working properly by committing changes to your code repository.
On a side note: are you an Emacs user? Learn how you can use Git in Emacs with the Magit porcelain app.
4. Write Concise Commit Messages
Commit messages are a core part of every Git project. They provide details on the changes you made, making your repository easier to navigate in the long run. However, if you don’t do them correctly, commit messages can also be a source of frustration.
As such, another good habit to build while using Git is being concise with your commit messages. By default, the standard practice is to keep your messages in a single line and under 50 characters.

That said, there are instances where you might want to elaborate on a particular commit. For those, make sure to keep the line length of your message under 72 characters per line. This will ensure your commit is still readable on small terminals and emails.
5. Utilize Git Branches
Git branches are an incredible tool that can create multiple versions of your codebase in the same repository. This allows you to develop new code while maintaining a pristine copy of its original source. For someone new to Git, creating branches is an important habit to pick up as it streamlines the process for integrating new code to your program.
To create a new branch, navigate to your Git repository, then run the following command:
git checkout -b my-branchConfirm that you’ve moved to the “my-branch” branch by running git status, then make some changes on your code. In my case, I will edit a text file inside my repository.

Finalize your changes by running git commit, then switch back to your main branch by running git checkout master.
Open the files that you changed on the new branch to confirm that the amended files don’t appear on the master branch.

Good to know: looking to get into self-hosting? Check out some of the best self-hostable Github alternatives today.
6. Check the Diff Before Merging Code
Git, in itself, provides a massive boon to streamlining feature development, testing, and code integration. However, there are cases where merging code isn’t as clear-cut as it sounds. For instance, introducing code from a feature branch can break existing functions in the master branch.
To avoid this, you should check out the differences between the two branches before you merge code. In Git, you can do this by using the diff command.
git diff master..my-branch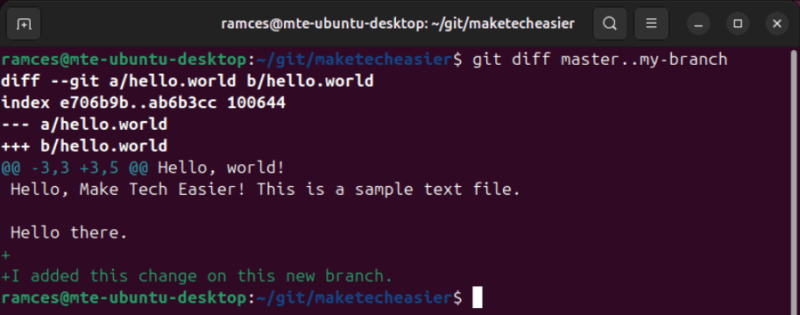
Additionally, the diff command can check the difference between two files within the same branch. This is helpful if you have multiple copies of the same file and want to quickly check any significant changes between them.
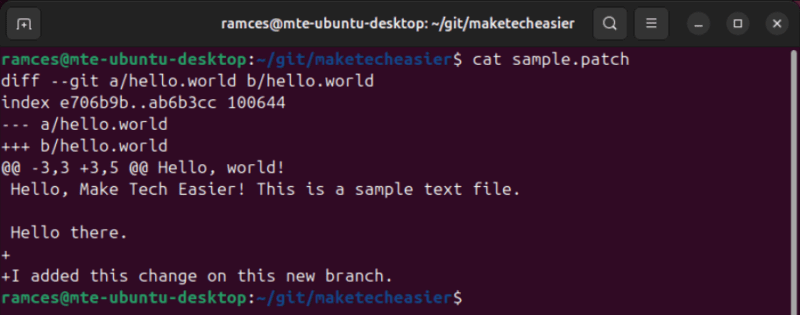
Apart from that, it can also create patches out of your files. These are small pieces of machine-readable text that others can use to apply your changes to their Git repository.
7. Use Git Fetch Instead of Git Pull
When it comes to collaboration, Git offers tools to make it easy to share and obtain work from other developers. Commands such as git pull, for instance, allow you to fetch and apply updates for repos in your local system.
Having said that, one downside of git pull is that it automatically applies changes in the upstream to your local copy. This is a big problem if you’re working with multiple people on a feature branch or tracking an issue in the program.
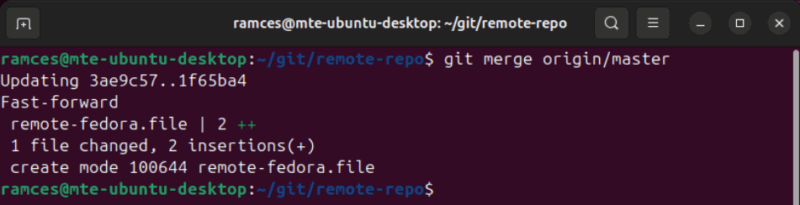
To avoid this from happening, one good habit to adopt is switching from git pull to git fetch. This only pulls the latest updates from the repo’s upstream and doesn’t merge any code to your local copy.

To merge any changes, you can run git merge followed by the name of the branch you want to integrate.
Learning these Git habits is just the first step in exploring the wonderful world of software development and collaboration-focused software. Learn how you can further expand your Git know-how by checking out the differences between Github and Gitlab.
Image credit: Grok via x.ai. All alterations and screenshots by Ramces Red.