What we like
- Easy to set up and use
- Monitor is responsive
- Multiple makes it useful to use in various situations
- Supports both HDMI and USB-C ports
- Touchscreen is a useful addition
What we don’t like
- heavier than a laptop, not an ideal portable solution
- The magnetic attachment does not work all the time.
I love to work with a big monitor. I have a 34″ ultrawide screen hooked up to my desktop and a 27″ external monitor when I am in my office workstation. However, when I am on the move and need to work on my laptop, I can’t be lugging a huge monitor around. That’s when a portable external monitor can be useful. I had the chance to test the portable Duex Float monitor extender that adds a stacked screen on top of my laptop. Sounds good, isn’t it? Let’s check out how it performed.
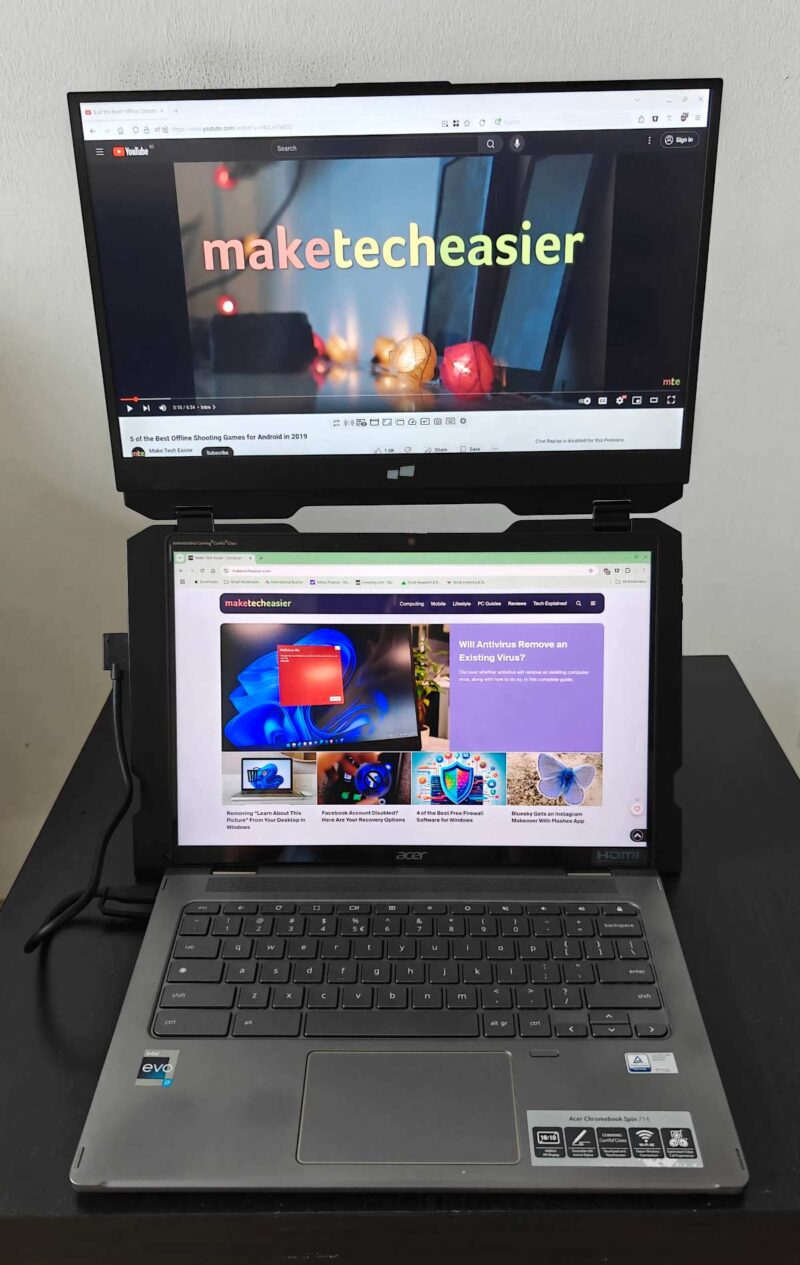
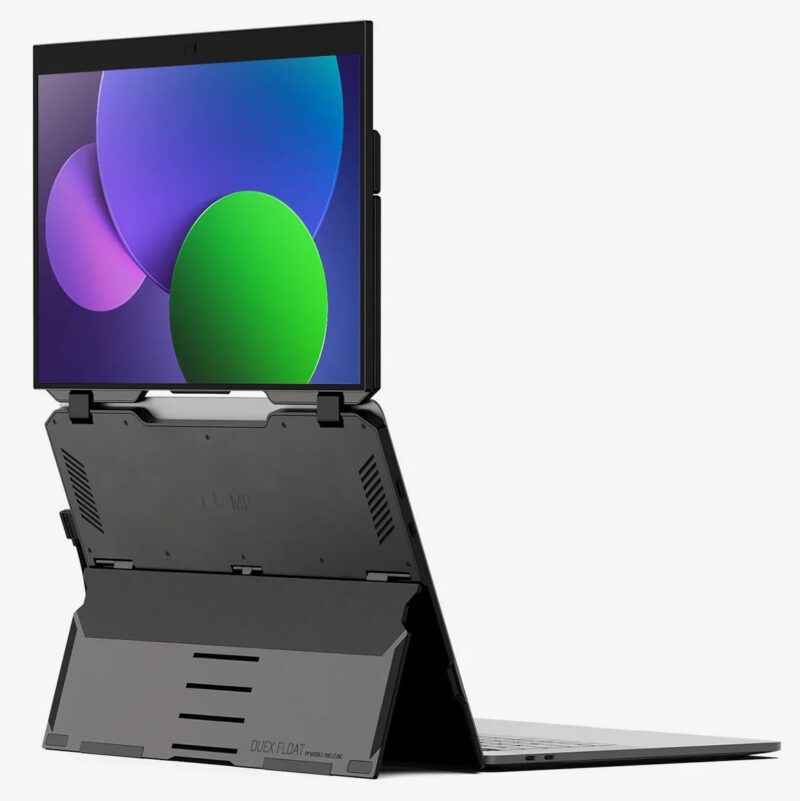
Stacked Monitor Setup
The Duex Float external monitor has a kickstand plate that can attach to the back of your laptop screen to provide a stacked monitor setup. The Duex Float is designed specially as a stacked monitor, so if you love to extend the screen horizontally, this may not be for you. Personally, I prefer to extend the screen sideways, but I do find a vertically stacked screen is useful when used on a small desk with limited space. It doesn’t reduce my productivity but requires a change in my regular workflow.
Related: use the tips here to optimize your multi-monitor setup.
Unboxing
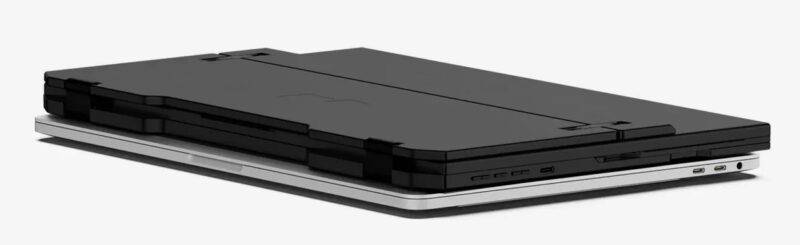
Upon removing the monitor extender from the box, my first impression was that it is heavy, and that impression didn’t change, even after weeks of using it. Weighing 4 lbs (1.8kg), it is heavier than both my 15″ laptop (about 1.6kg) and Chromebook (1.36kg). When you carry both the monitor and your laptop, it feels like carrying a brick in your bag.
On the other hand, there is a reason for the heaviness. There are a number of hinges and moving parts, and the base kickstand plate has to be sturdy enough to hold the monitor in an upright position. All of this adds to the weight.
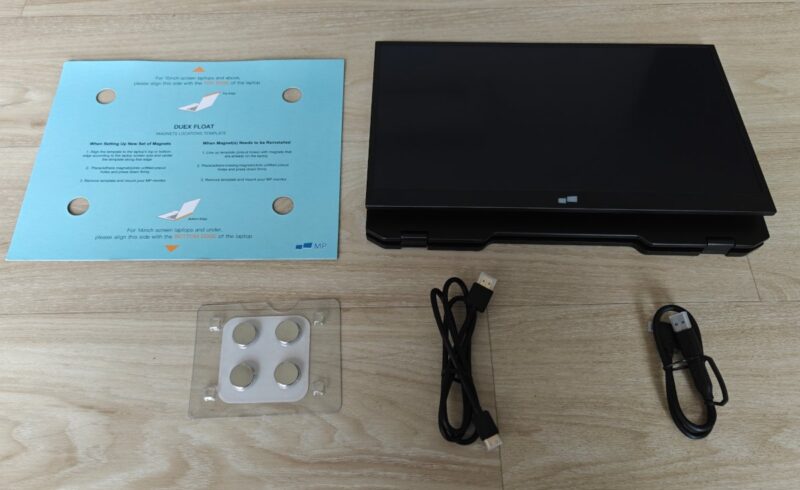
There are only a few accessories in the box: an HDMI cable, a USB-C cable, a pack of magnets, and the instruction card.
Usage
To set it up, you have to first paste the provided magnets on your laptop cover via the alignment template. The magnets are supposed to be pasted permanently on your laptop cover, which doesn’t make it easy for you to use it on a second laptop.
Once you are done, you can snap the kickstand tight to your laptop cover, then rotate the hinge to position the monitor at the top of the laptop screen. Lastly, connect the cable from the laptop to the monitor for it to work.
The setup process may seem easy, but it fails quite often. On my laptop cover, some areas have opposite parity than the magnet, so it can’t be pasted in the correct place (not to mention that having four magnets permanently on your laptop cover looks ugly).
Even when I am able to get the magnet in position, the magnet is weak and often drops off when I try to snap the kickstand to it. In short, I can’t get the magnet attachment to work. Luckily, the Duex Float can stand on its own. Even without the magnetic attachment, I still can get it to work with my laptop.
There are three different modes for using the Duex Float:
- Stacked extended monitor mode: this is the default mode, allowing you to extend your screen vertically.
- Stacked presentation mode: when in the stacked mode, the monitor can be rotated 180° to the back and act as a presentation monitor. This is useful when you need to present your screen to a client or coworker sitting opposite you.
- Desktop mode: if you prefer to extend your screen horizontally instead of vertically, this mode allows the monitor to sit independently on its own and lie at the side of your laptop. Alternatively, if you need to hook up an external screen with your Nintendo Switch, PlayStation, or Android phone, this desktop mode works perfectly.
Let’s Talk About the Ports
The monitor itself has no ports. Instead, all ports are situated on the side of the kickstand, making the monitor and kickstand work as one single unit. You can’t separate the monitor from the kickstand and use the monitor on its own. There is one mini HDMI port and two USB-C ports on each side of the kickstand.
There is something you need to know about the port connection. While both HDMI and USB-C ports work to extend your screen, they work differently.
If you connect the monitor with the HDMI cable, you will need an external power source to power the monitor (via the USB-C port), as an HDMI cable doesn’t allow pass-through power. If you connect using the USB-C cable, then it will draw power directly from your laptop. In short, if your laptop doesn’t have a USB-C port, you have to make use of two cables (HDMI and USB) and two ports to connect to the monitor. For newer laptops that have a USB-C port, you only need one cable to connect to the monitor.
The same applies to the touchscreen feature – it won’t work with an HDMI connection. You have to use a USB-C connection for the touchscreen to work. Knowing that some older laptops don’t have a USB-C port, it wouldn’t be useful to people who need the touchscreen feature. This wasn’t communicated clearly on its website or stated in its instruction manual. It assumed that you either knew of this limitation or were using the USB-C cable to connect to your laptop.
The specification states that the touchscreen works on both Windows and macOS. My laptop is running Arch Linux with KDE, and I was happy to see that the touchscreen works fine on Linux (KDE), too. Even on my Chromebook, I have no issue getting the touchscreen feature to work.
The screen has a maximum resolution of 1920 x 1080 pixels, a refresh rate of 60Hz and a maximum brightness of 25 nits. It is great for simple work stuff, but if you are expecting 4K quality for your gaming needs, you will be disappointed.
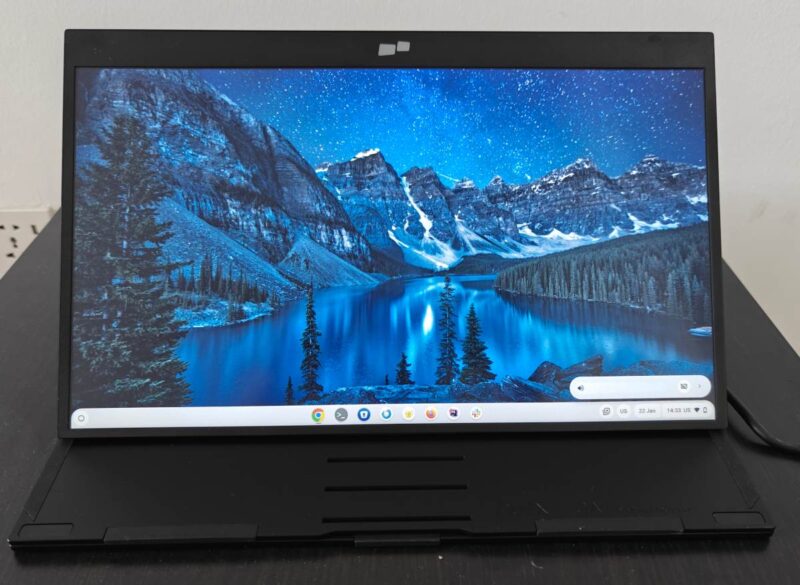
Performance
The monitor is generally quite responsive when connected to my Dell laptop. However, when working on my Chromebook, there are lags when typing on the screen. This could be more of a hardware limitation of my Chromebook rather than an issue with the monitor. I assume that this would also be the case if you are using an old low-end laptop.
Technical Specifications
| Screen Size | 15.6-inch touchscreen |
| Resolution | 1920 x 1080 pixels |
| Refresh Rate | 60 Hertz |
| Brightness | 250 nit (adjustable) |
| Dimensions | 14.2″ x 9.1″ x 0.87″ |
| Touchscreen | 10-point multitouch |
| Compatibility | Windows, macOS, Linux, ChromeOS, Switch, Xbox, PlayStation *Touch works on both Windows and Mac |
| Connections | 2x USB-C 1x mini HDMI port |
| Weight | 4 lbs. |
| Energy Consumption | 7W total |
Final Thoughts
The thing that sets this portable monitor apart from the others is its kickstand that creates a stacked monitor setup. The ability to rotate and change it into presentation mode is a bonus. Overall, if you are a fan of a stacked monitor setup and can overlook the weight issue, this may be the one for you. Alternatively, you may want to choose from our list of the best portable monitors.
Subscribe to our newsletter!
Our latest tutorials delivered straight to your inbox