Most of us secure our Windows PCs with just a password or PIN. You can make it more secure and harder to crack by using a security key. Here we show you how to convert a USB flash drive into a security key for all Windows login attempts.
Why Use a USB Security Key for Windows Login?
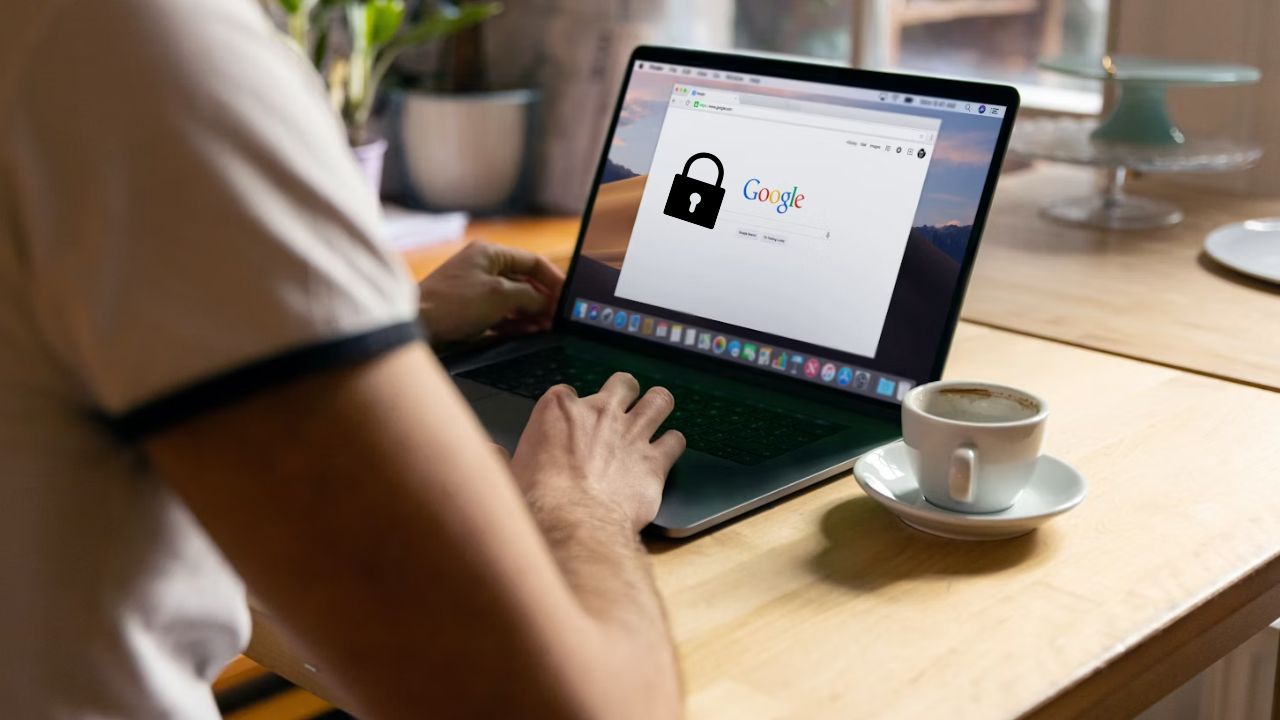
A USB security key adds an extra layer of protection beyond a password or PIN. Just plug in a flash drive and you get an additional encrypted physical verification.
Having this one simple change in your login process makes your device strongly resistant to hackers, remote exploits, and other endpoint threats. It also renders a stolen laptop useless to thieves. Having such a simple yet advanced login is like bringing bank-grade security to your home laptop.
Windows Built-In Method for a Secure USB Key
If you are planning to use the native methods in Windows to set up a USB key, you will need to purchase FIDO2-compliant physical USB keys, such as Yubico, YubiKey, Thetis, or Google Titan.
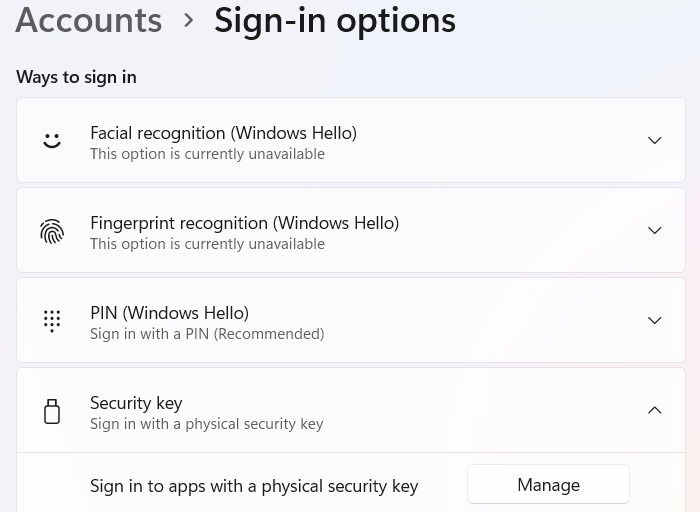
On your Windows device, go to Settings -> Accounts -> Sign-in options -> Security key. Click Manage next to Sign in to apps with a physical security key.
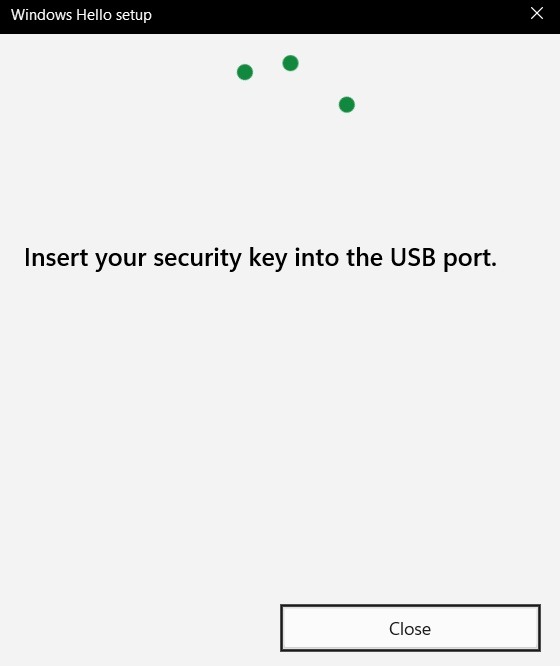
A pop-up will open. You will be asked to enter your physical security key into a USB port. Plug in the USB key and follow the on-screen instructions to set up your key.
Once your local user account has been configured to require a FIDO2-compliant security key, you will need to plug it in for all future logins.
Create USB Security Key With USB Raptor
These physical security keys cost around $20–50. If you want to avoid spending, you can use free third-party tools to get the same results with any USB drive.
The open source tool, USB Raptor, is an easy and free way to create a secure key with ordinary flash drives on your Windows device.
First, extract the ZIP file, and click the Setup file. Ignore any SmartScreen warnings, as it’s a perfectly harmless software, and finish the installation of the USB Raptor setup file.
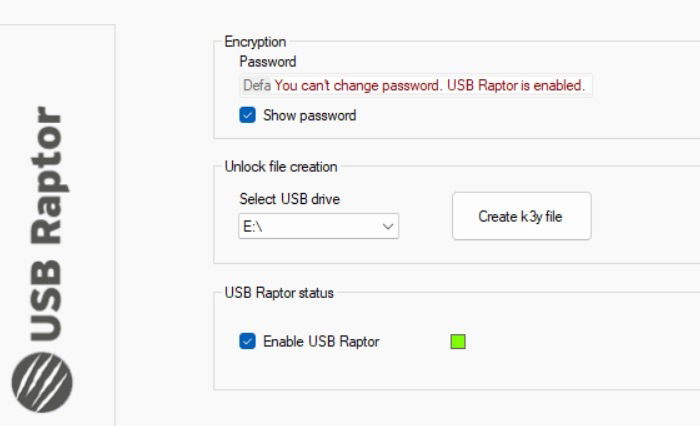
When you launch USB Raptor for the first time, you have to agree to the terms of use. The software sets the password as “default” which you need to change. Insert a USB drive, and click Create k3y file inside it. After that, select Enable USB Raptor, and this creates your security key.
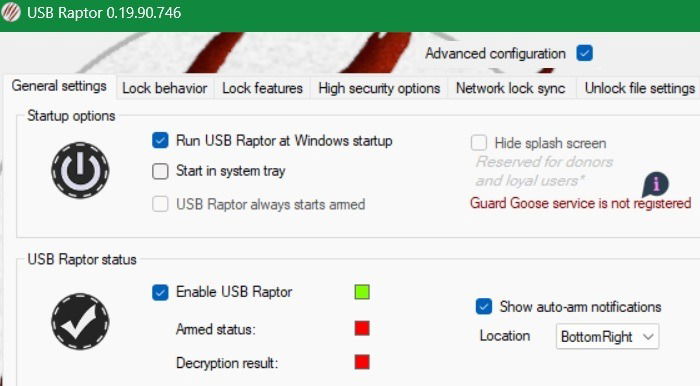
If you want USB Raptor to run during the next boot, select Advanced configuration and then go to General settings -> Startup options, and ensures USB Raptor can run during Windows start-up.
Related: learn how to encrypt or decrypt a USB drive for added protection.
What Happens If You Lose the USB Security Key?
Your USB security key can be lost, stolen, or damaged. When that happens, you will have to use the recovery codes which can be set up during the configuration process. Most hardened secure key providers should allow this.
USB Raptor is one third-party secure key provider that allows backdoor access in case you lose the USB key. For that, in the initial configuration page, select Advanced configuration as seen in previous section.
For a backup option, go to Lock features -> Backdoor access, and ensure that all the fields are selected. Now, click Generate RUID file.
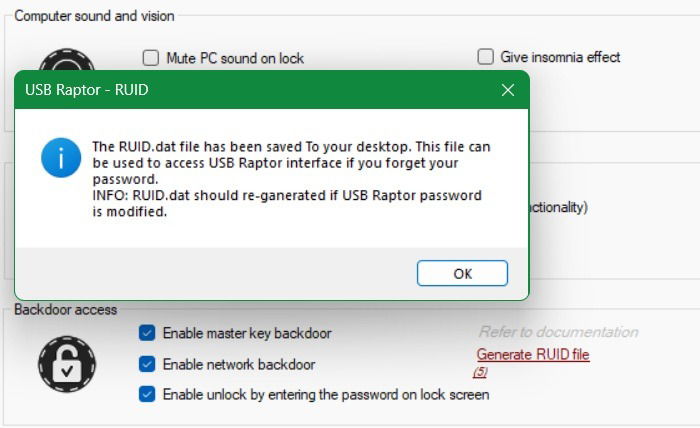
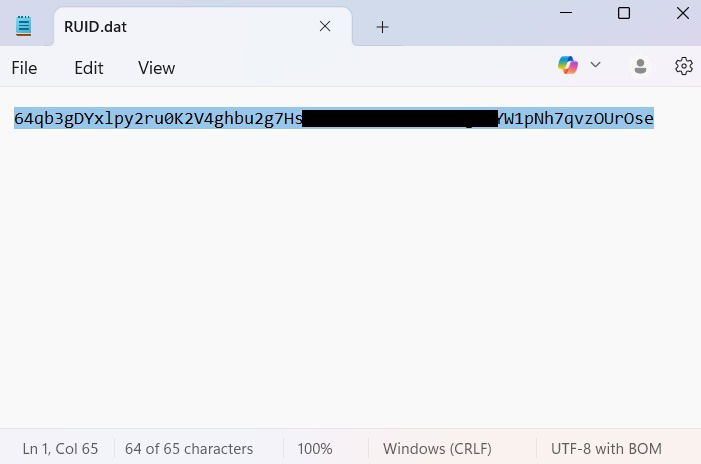
A lengthy alphanumeric backdoor key is created and automatically saved in DAT format. You can access this on your desktop, and open it using Notepad. Of course, you can save the key to an email account or use a secure password manager.
You shouldn’t lose access to a backup recovery code, or you will never be able to log in to your Windows device again.
There are many other use cases of USB drives in Windows. For instance, you can use them to create a bootable disk for backup in case your Windows laptop fails to start.