It’s very easy to breathe instructions to a Windows PC. Whether you’re drafting an email, accessing files on your device, or, like me, composing an article in a browser, Windows voice typing lets you go hands-free. Follow the tips below to maximize efficiency while using voice typing in Windows.
Table of Contents
- What is Windows Voice Typing
- 1. Set Your Microphone Correctly
- 2. Ensure Your Speech and Accent are Audible to Windows
- 3. Turn on Automatic Punctuation
- 4. Navigate with “Press Backspace” and “Press Enter”
- 5. Memorize Punctuation Symbols in Windows Voice Typing
- 6. Use the “No Space” Command to Combine Two Proper Nouns
- 7. Spell Out Entire Letters for Acronyms
- 8. Enter Numbers Using “Press”
What is Windows Voice Typing
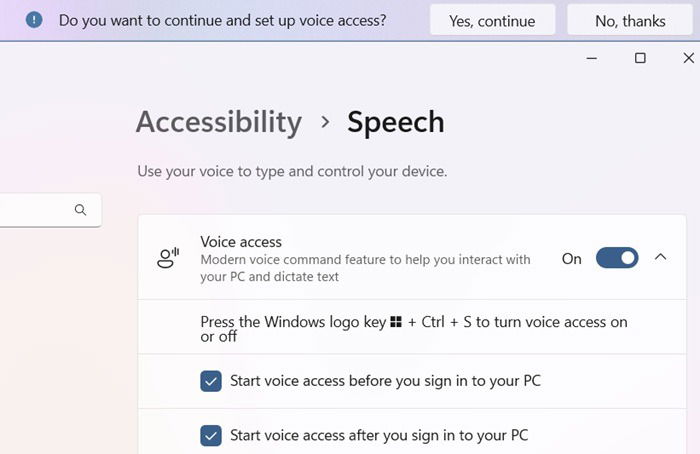
Windows Voice Typing is an Interaction feature in the Settings of your Windows device, which you can open from Accessibility -> Speech, followed by enabling Voice Access.
You will see a question on the top of your screen: “do you want to continue and set up voice access?” After you select Yes, continue, it will set your device’s default microphone to receive speech instructions.
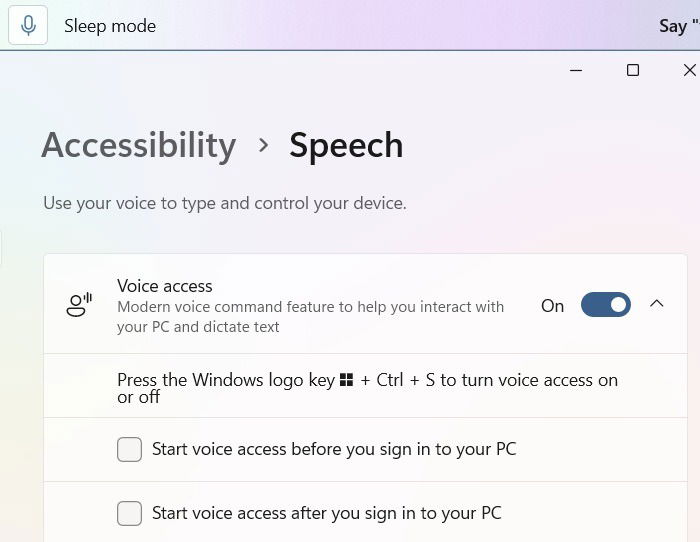
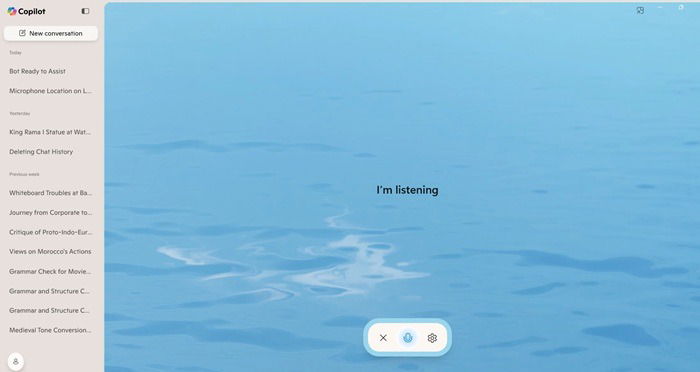
Initially, the voice access is in Sleep mode. To make it responsive, say, “voice access, wake up,” or press a Mic button if you have one on your laptop.
Alternatively, you may type Win + H, and use your mouse or trackpad to click a “mic” icon. This method will only work when the cursor is in a text box area. Otherwise, you will see an error: “to use voice typing, select a text box, and try again.”
Even though Windows voice typing is an advanced feature, it remains underused. If you’re having problems with it, check our troubleshooting guide.
Typing anything involves managing multiple things, such as punctuation, uppercase letters, and special symbols. Here are a few tips that can help you save time and become more efficient with any task that requires typing.
1. Set Your Microphone Correctly
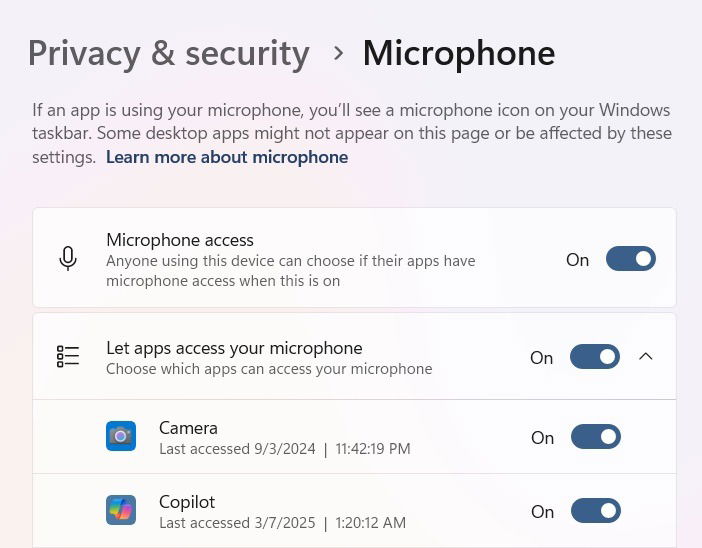
To automatically trigger voice typing in Windows, ensure that microphone access is working on your device. Go to Settings -> Privacy & security -> App permissions -> Microphone.
Turn on the sliders for Microphone access and Let apps access your microphone. If you’re going to use voice typing on Copilot or a browser like Google Chrome, make sure these apps have access to the microphone.
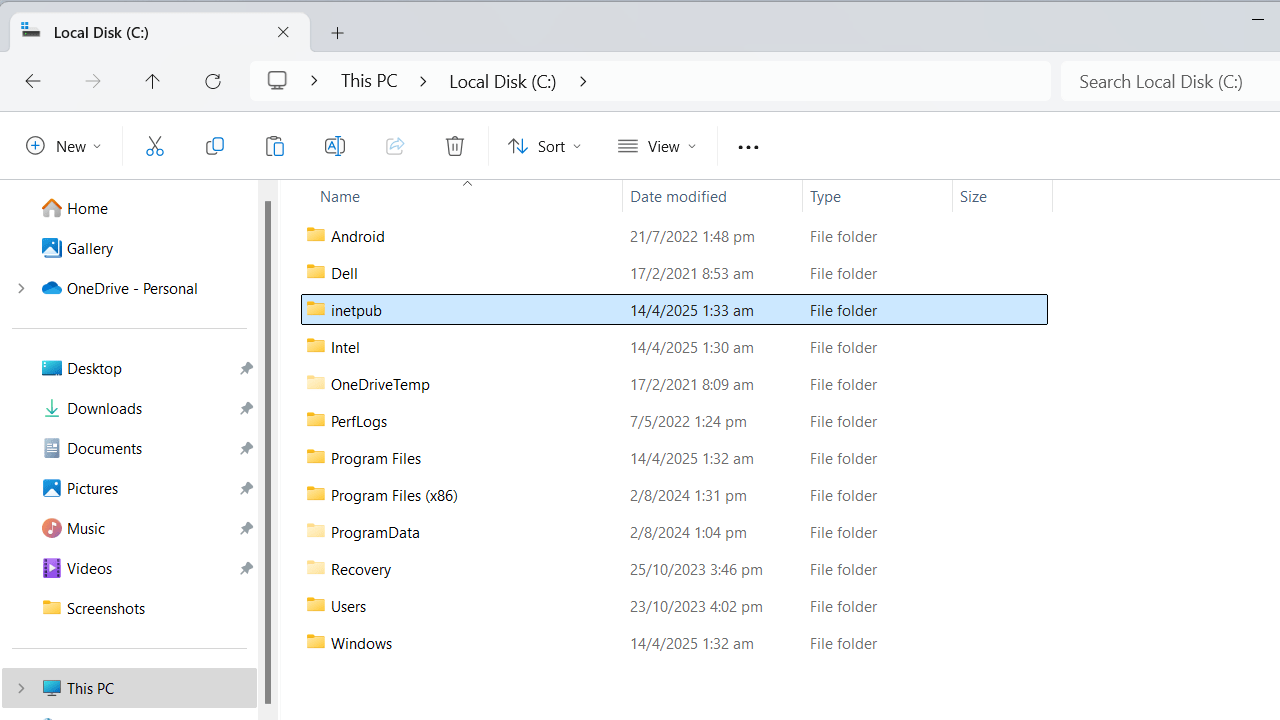
Knowing where exactly the microphone is on your laptop is very useful for effective communication. Of course, you can check the user manual. But I found it easier to ask Copilot. It did request me for my Dell model number. I found that my microphone was located on the top near the webcam.
A few other laptop makers have the microphone on the keyboard area. Sometimes, it can also be on the side and bottom edges of your device.
2. Ensure Your Speech and Accent are Audible to Windows
This is an important one. Microsoft tests Windows speech settings on a variety of accents and voice types. However, you must configure your own speech type to get the best experience out of Windows voice typing.
Go to Settings -> Time & language -> Speech, and choose your Speech language. If you have a regional accent that deviates from the normal, select Recognize non-native accents for this language.
Finally, scroll down on the same page to review the installed voice packages. You can add any language packs that closely resemble you.
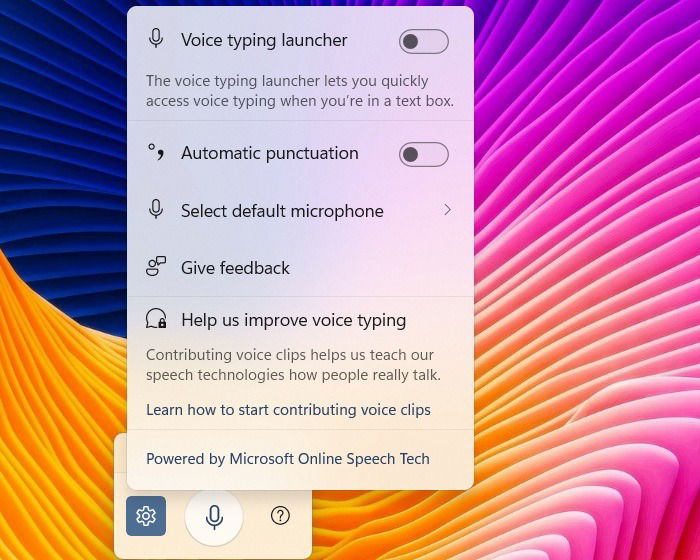
3. Turn on Automatic Punctuation
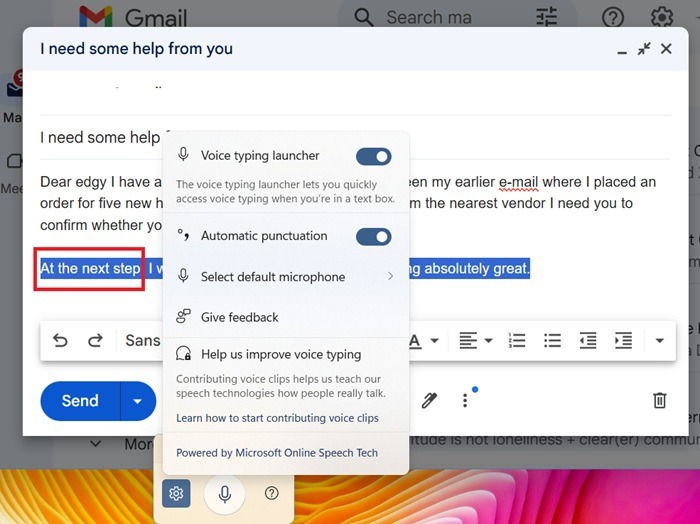
This is a real time-saver, and also lets you catch a breath (or two) mid-sentence. You don’t need to pronounce “period/full stop” or “comma” every single time. Just voice typing settings, and, enable a feature called Automatic punctuation.
To ensure that the punctuation marks are inserted at the proper place, emphasize the words correctly and speak in a natural cadence. It may take some practice to get it done correctly.
4. Navigate with “Press Backspace” and “Press Enter”
To those who don’t wish to scroll with the mouse, Windows voice typing allows a smoother way to navigate around a text window. In order to move a cursor to the next line, say “Press Enter,” and you will now be typing on a next line. Depending on your line spacing requirements, you may have to repeat the command.

Moving one step back is as easy. For this, you just have to pronounce “Press backspace.” In another case, if you just need to type “press enter,” just have any filler word ahead of “press,” such as “now.” Of course, you would then need to use the mouse selectively to delete the extra entries.
5. Memorize Punctuation Symbols in Windows Voice Typing
The following is a list of useful punctuation symbols while typing in Windows voice. It is easy to memorize most of them.
| Symbol | What to Say |
|---|---|
| Quotation marks | “Open quotes” and “close quotes” |
| Apostrophe symbol | “Apostrophe-s” |
| Hyphen | “hyphen” |
| Ellipsis | “dot, dot, dot” or “ellipsis” |
| Colon or semicolon | “colon” or “semicolon” |
| Parentheses | “Left or open parentheses” for “(” and “Right or close parentheses” for “)” |
| Asterisk, back slash, or forward slash | “Asterisk” for *, “back slash” for “/” and forward slash for “\” |
| Period or full stop | “Period” or “full stop” |
| Comma | “Comma” |
| Underscore | “Underscore” |
There are many other symbols that follow the way they are pronounced in computing jargon. For instance, an “ampersand” would yield “&” and “percent sign” would give “%.” You can also use the common symbols for currencies, and the degree symbol.
6. Use the “No Space” Command to Combine Two Proper Nouns
By default, Windows voice types assumes two proper nouns as separate entities unless they are acceptable compound words such as “toothbrush.” So, if you had to get something like “Black Pearl” as a single entity, it calls for a different word.
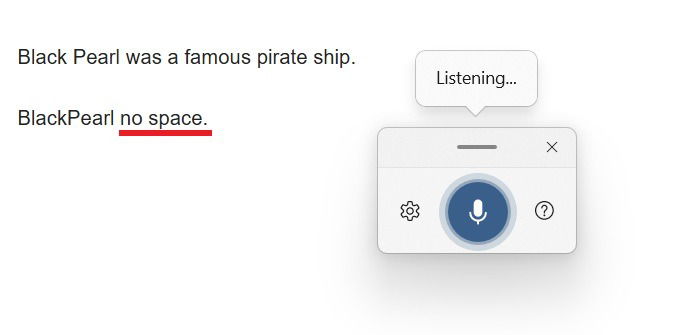
The trick is to quickly say “no space” after the second word, which will join it to the first word. If that fails, you need to do it manually. Such compound word combinations are very common in creating a username, password, email address, or domain name.
7. Spell Out Entire Letters for Acronyms
While typing using voice in Windows, all common words are inserted in sentence case. So if you need to type an acronym or spell out a commonly used word, just spell each letter manually, one by one.
For example, the acronym S.M.A.R.T. is often used in business for “Specific, Measurable, Assignable, Realistic, Time-related.” It can also be spelled in one breath as ‘S,’ ‘M,’ ‘A,’ ‘R,’ ‘T.’ By default, all acronyms are displayed in uppercase letters. If desired, you can further modify them manually.
8. Enter Numbers Using “Press”
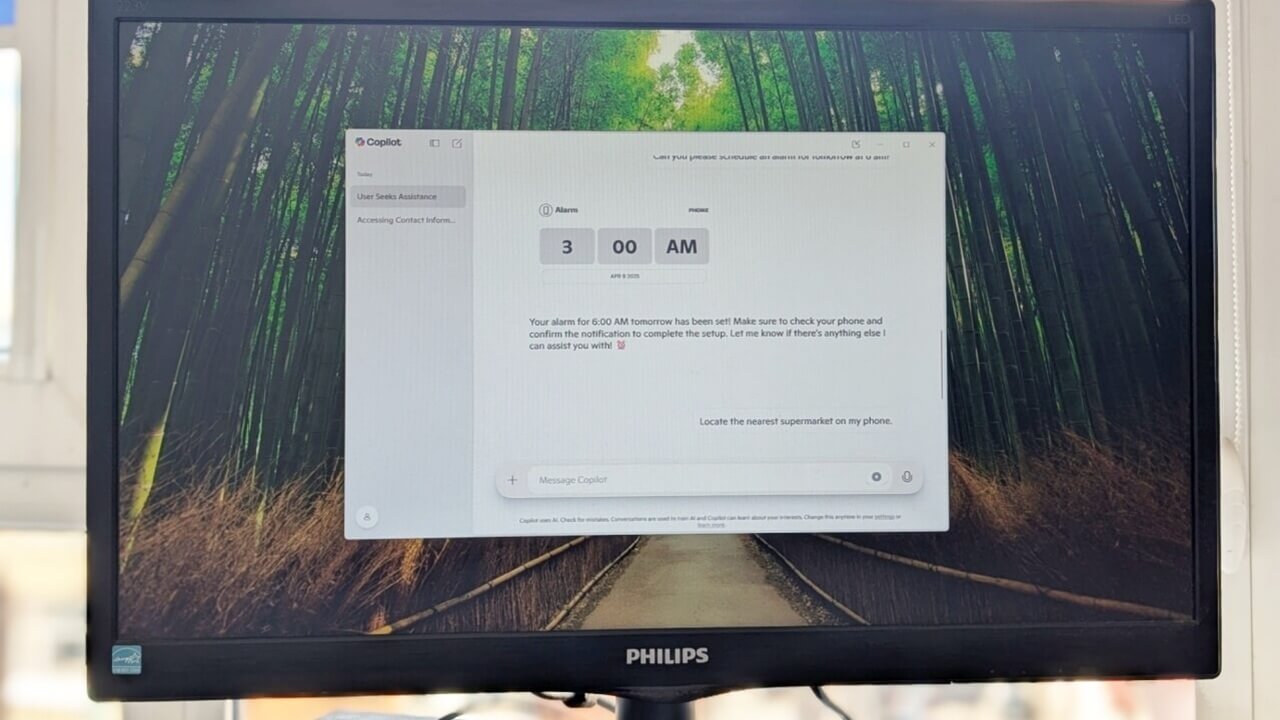
By default, voice typing in Windows spells out entire numbers, which can be a significant inconvenience. The only workaround is to say ‘Press’ followed by the number. For example, to type “2,” you need to say “Press 2.” This becomes particularly challenging when working with multiple numbers in a large body of text.
Personally, I consider this the biggest limitation of Windows voice typing. It suggests that one must rely on mouse inputs alongside voice typing, making a truly hands-free experience feel far from achievable.
Despite a few hiccups, we saw the tried-and-tested tips that will make your experience with Windows voice typing smooth and easy. In order to flawlessly type, you should first set up speech recognition. To get better response for your voice, sometimes it’s beneficial in setting up an external microphone.
Image Credit: DALL-E 3. All screenshots by Sayak Boral.