Do you find yourself scheduling the same Zoom meetings over and over again? This can quickly become frustrating, just like any repetitive tasks, leading to inconsistencies. However, there’s a hack to set up recurring Zoom meetings once and never have to worry about it again. This guide shows how to simplify the meeting setup process and save time with Zoom’s recurring meeting feature.
How to Schedule a Recurring Zoom Meeting
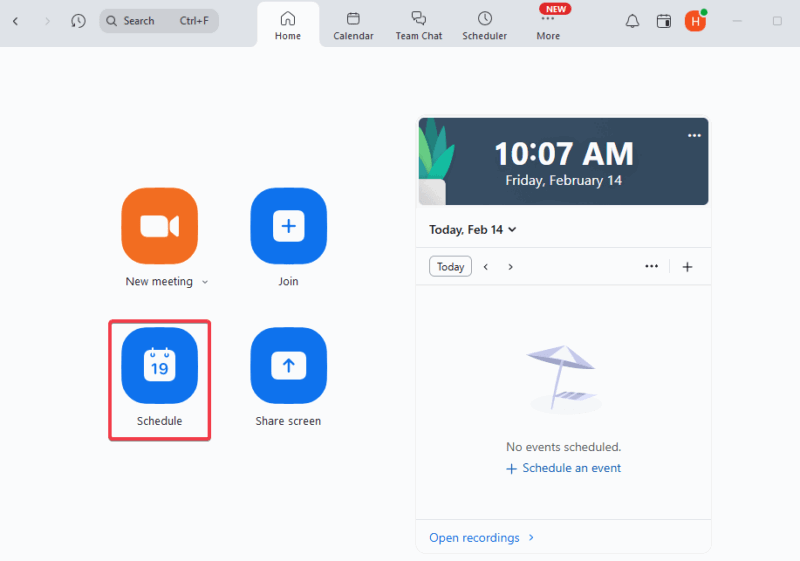
If you are a newbie, first try to familiarize yourself with how to set up or join a meeting. To create your first recurring Zoom meeting, sign in to the Zoom web portal, or open the app and click Schedule.
Fill in the meeting details: the topic, date, time, and duration. You may need to include the correct time zone for international teams. Check the box beside Recurring meeting to activate it.
You will be prompted to select the recurrence frequency. It could be daily, weekly, monthly, or no fixed time for sporadic meetings.
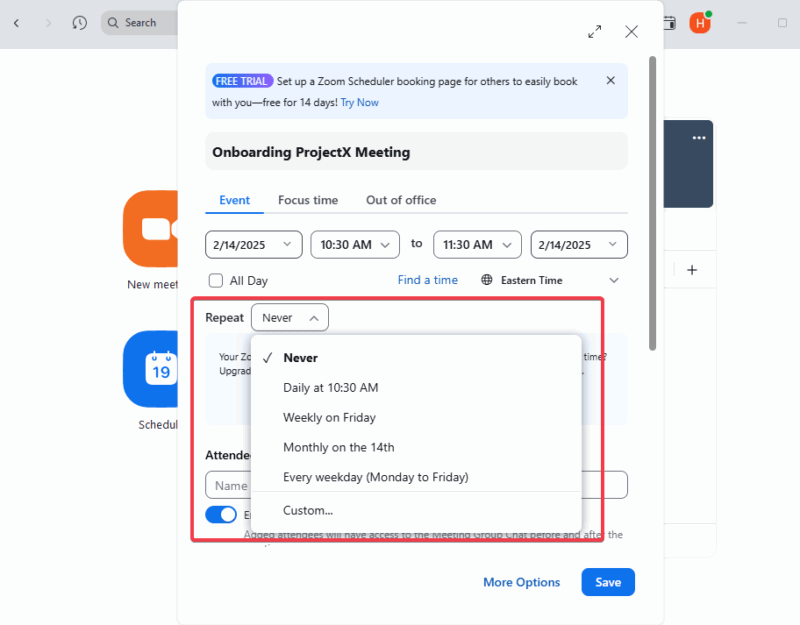
Further, you can set an end date or limit the number of occurrences. The meeting could also go on indefinitely if you choose to allow it.
Check out additional settings – you can select the audio options and enable video for the host and participants. You can also secure Zoom meetings by adding a waiting room or password.
Finally, click Save to generate the meeting link and ID, then share it with the participants for constant access to all sessions of the recurring meetings.
How to Edit Recurring Meetings in Zoom
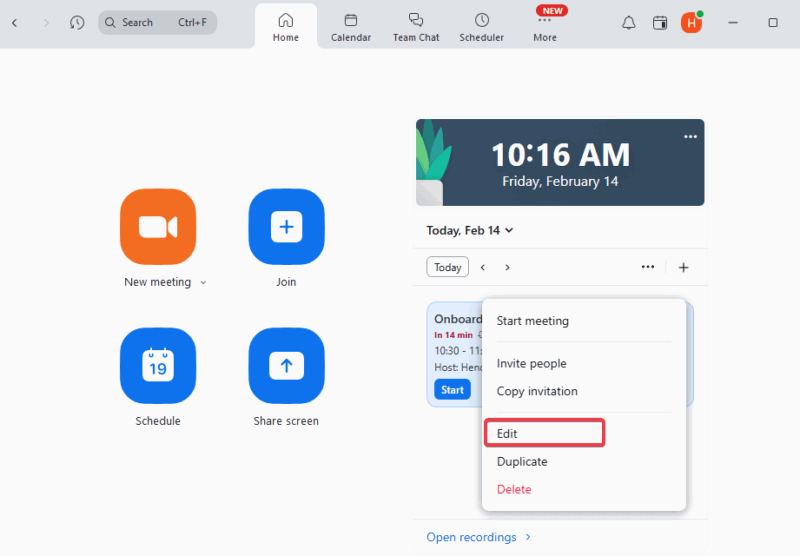
Should you have a reason to tweak the meeting, open the Zoom app, click on the three dots ( … ) beside the meeting, and select Edit.
You can change the meeting time, date, duration, or frequency in the prompt. Add or remove participants or co-hosts as well. Add or modify the security settings, such as waiting room or password.
Save the changes when you are done to effect them across all series of meetings.
How to Start a Recurring Zoom Meeting
Depending on which platform you use to access Zoom, you can start your recurring Zoom meeting by following these steps:
Navigate to Meetings in the Zoom desktop app, then locate your recurring meeting in the list and click Start.
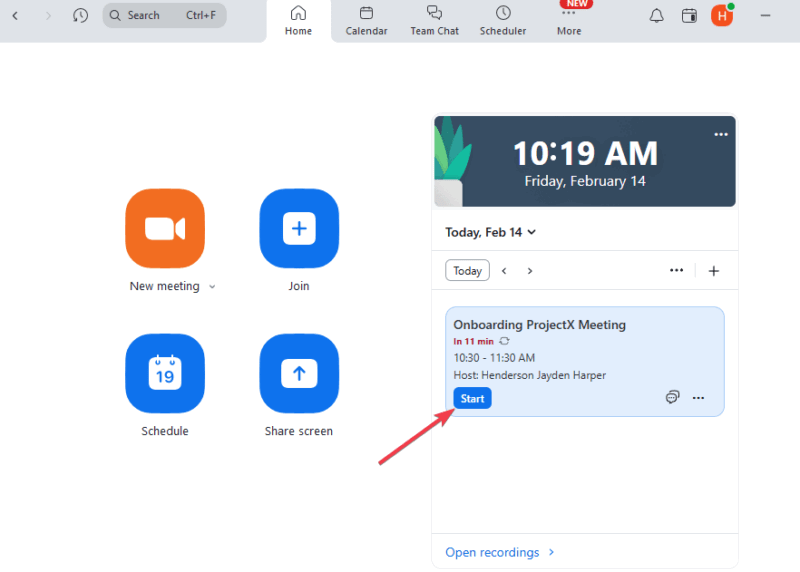
If you use the Zoom web portal, sign in to your account, and click Meetings. Click the Start button beside your meeting. But if you’ve synced Zoom with Google Calendar or Outlook, click Join with Zoom to get direct access.
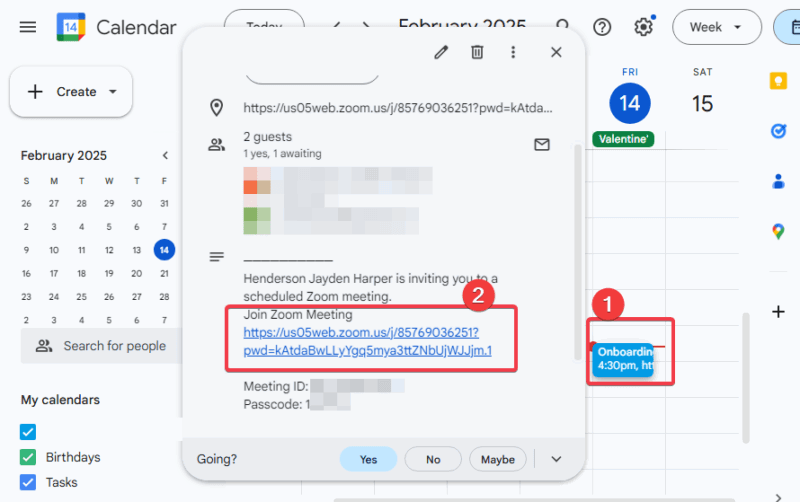
I would advise you to sync Zoom to whatever calendar services you use to maximize your productivity. Through this integration, any changes made in your calendar service will reflect in Zoom and vice versa.
To sync them, copy the Zoom meeting link into a new event in your calendar. Read on to further explore more Zoom features for better remote meetings.
How to Add/Remove Hosts to a Recurring Meeting
Should you need to change your meeting hosts, navigate to Meetings -> your recurring meeting -> Edit.
To add, select Alternative Hosts, and enter email addresses associated with the Zoom accounts of the new hosts.
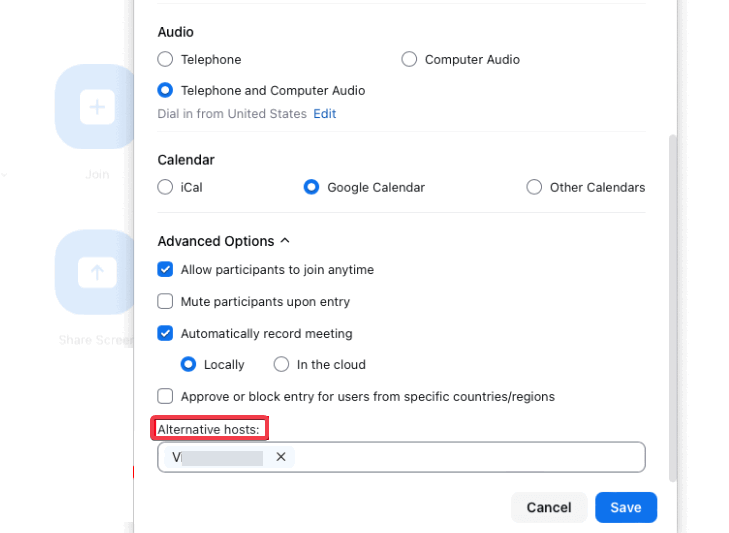
To remove hosts, select Alternative Hosts, and delete the email addresses you want to remove. Click Save to update the meeting details. Note that you need administrative privileges to perform this action.
How to Delete/Stop Recurring Meetings
Changes are inevitable, and if you need to stop the meeting series, follow these steps:
On the Home page, click the three dots (…) beside your meeting, click Delete, select either This meeting only or All meetings in this series, and click Continue.
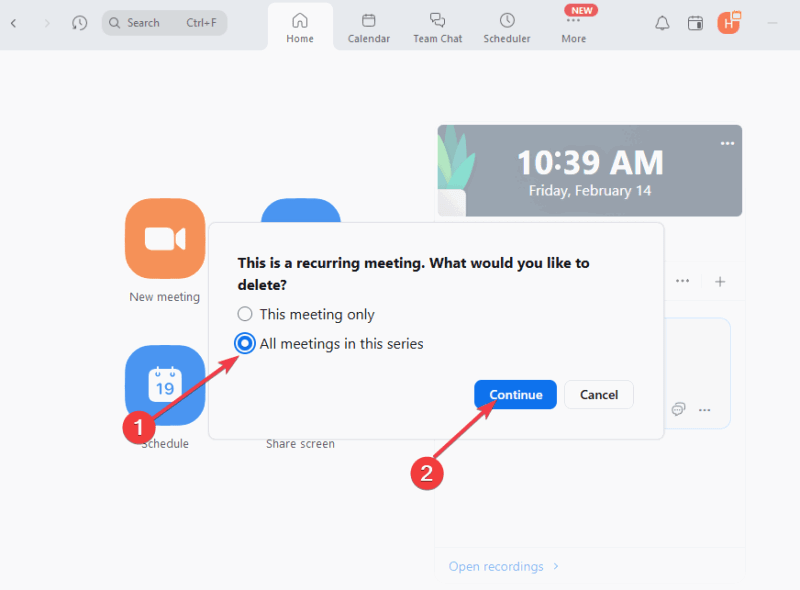
Confirm the action on the prompt, and verify that the meeting no longer appears in your list.
If you’ve integrated Zoom into Outlook or Google Calendar, deleting or stopping recurring meetings may not be reflected immediately. Double-check to confirm.
Embracing Zoom’s recurring meeting feature guarantees consistency in your schedule while saving time and boosting your productivity. As outlined in this guide, there are a plethora of options to start, tweak, or sync your meetings. Go ahead and set up your first recurring Zoom meeting with ease. Also, you can explore how to record a Zoom meeting to share with those who missed it.
Image credit: Unsplash. All screenshots by Henderson Jayden Harper